In these tutorials we are going to cover how to setup a virtual machine on ESXi 6.7.0, that runs Debian 9.7.0 and JIRA core 8.0.0. These tutorials will get you through the bare bone basics of getting JIRA up and running and is geared towards lugheads like me that just want to give JIRA a try. Some experience in these technologies would be helpful, but in all honesty I am going to walk you through it like you have no idea what you are doing. What I expect is that you already have ESXi running in a home lab. You can do this tutorial with Virtualbox as well, but the interface will be a little bit different.
Overview of Parts 1-3:
- Part 1: How to Setup JIRA core 8.0.0 from scratch on Debian 9.7.0 in ESXi 6.7
- Part 2: How to Setup JIRA core 8.0.0 from scratch on Debian 9.7.0 in ESXi 6.7
- Step 3: Finish Debian Setup
- Step 4: Setup PostgreSQL
- Part 3: How to Setup JIRA core 8.0.0 from scratch on Debian 9.7.0 in ESXi 6.7
- Step 5: Install JIRA
- Step 6: Basic Setup of JIRA
Part 1. Introduction.
There are two major steps to this part of the tutorials. First we will create a Virtual Machine, then we will install a bare-bones version of Debian. In all honesty this is a pretty dull tutorial, Part 2 and 3 will be where the real action is. Honestly the bulk of the second part of this particular tutorial is clicking “Continue” twenty times, but I have taken the time to step you though it and give some quirky explanations along the way.
Step 1. Create a Virtual Machine.
In this case we are going to use ESXI 6.7 from VMware the creation of virtual machines are similar
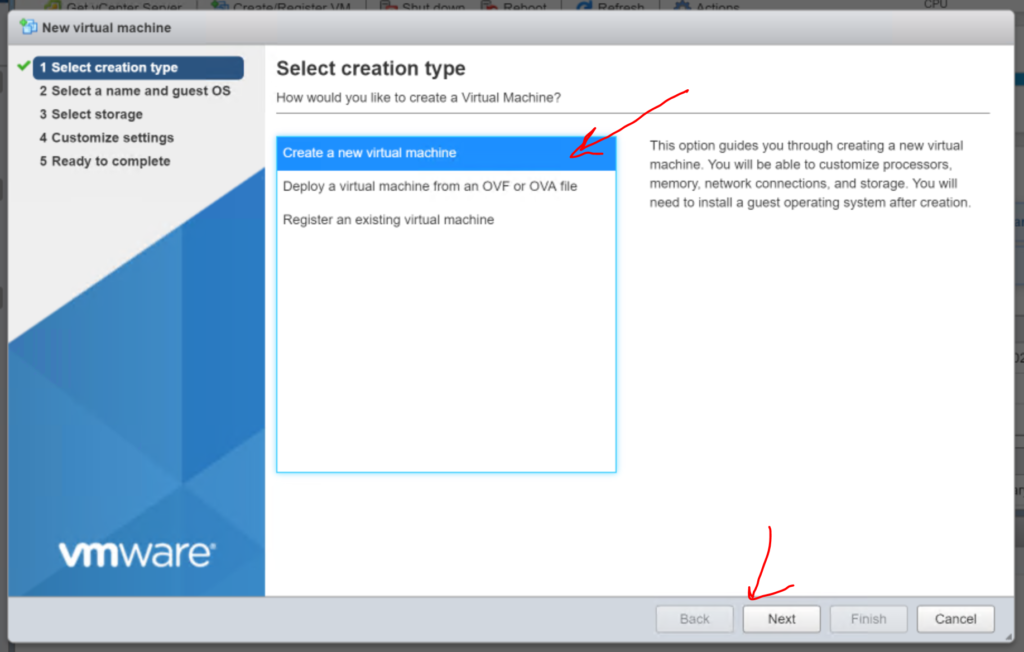
1.1 Create the machine, Login to VMware via the web console and right click on “Virtual Machines” and select “Create/Register VM“.

1.2 A new virtual machine window will open. Select “Create a new virtual machine“, click “Next“
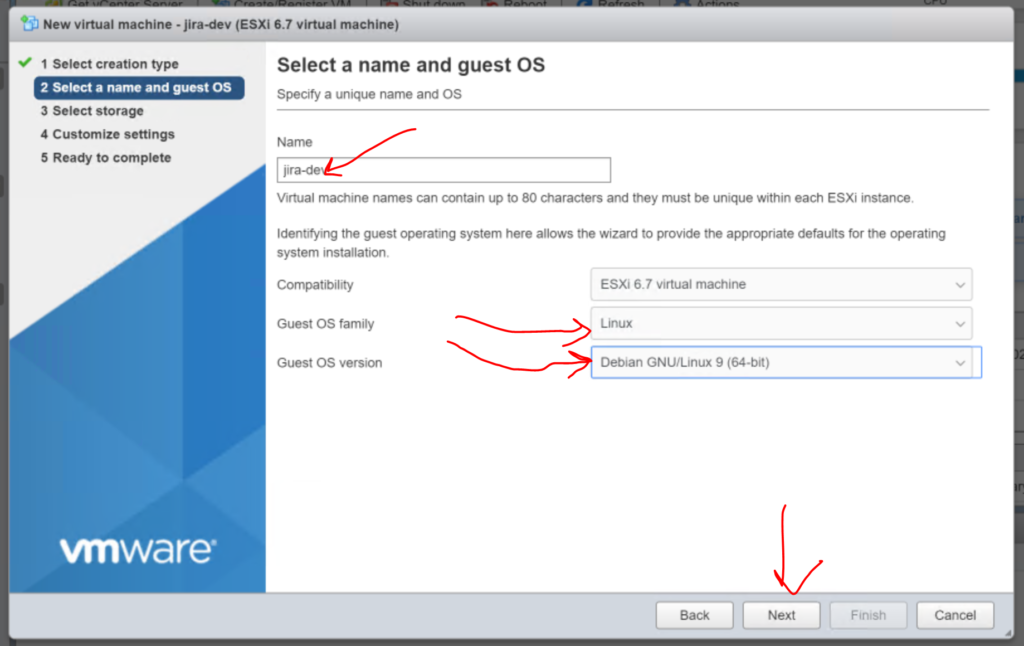
1.3. Give the machine a name, in this case we will call it ‘jira-dev‘. Then Select “Linux” from the Guest OS family drop down. And then “Debian GNU/Linux 9 (64-bit)” from the Guest OS version drop down. Now smash that “Next” button.
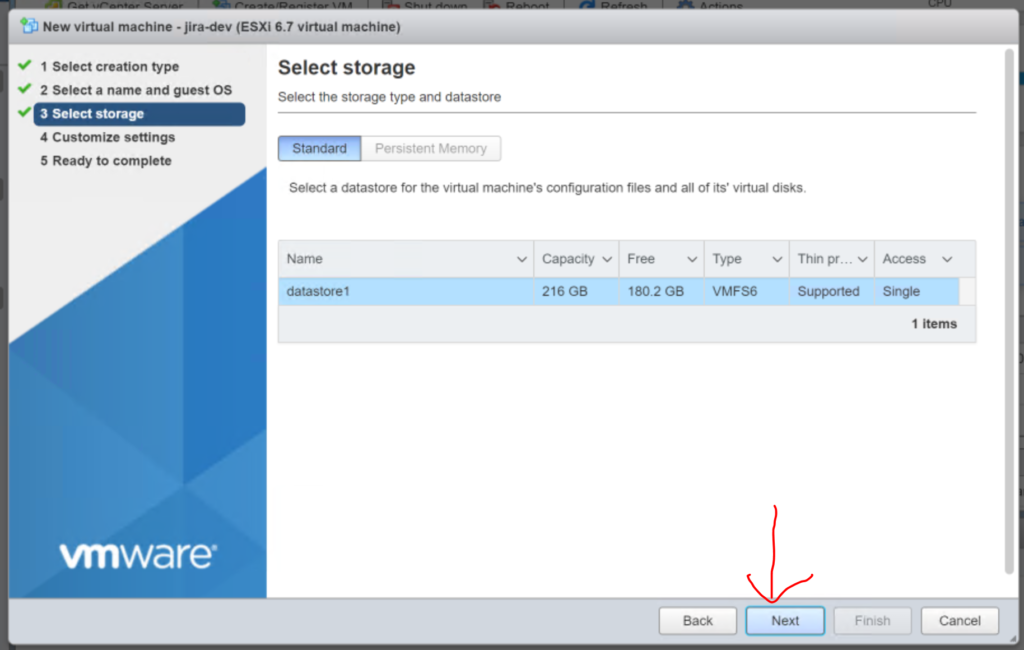
1.4 Select where you want the VM to be created, aka which datastore and click “Next” again.
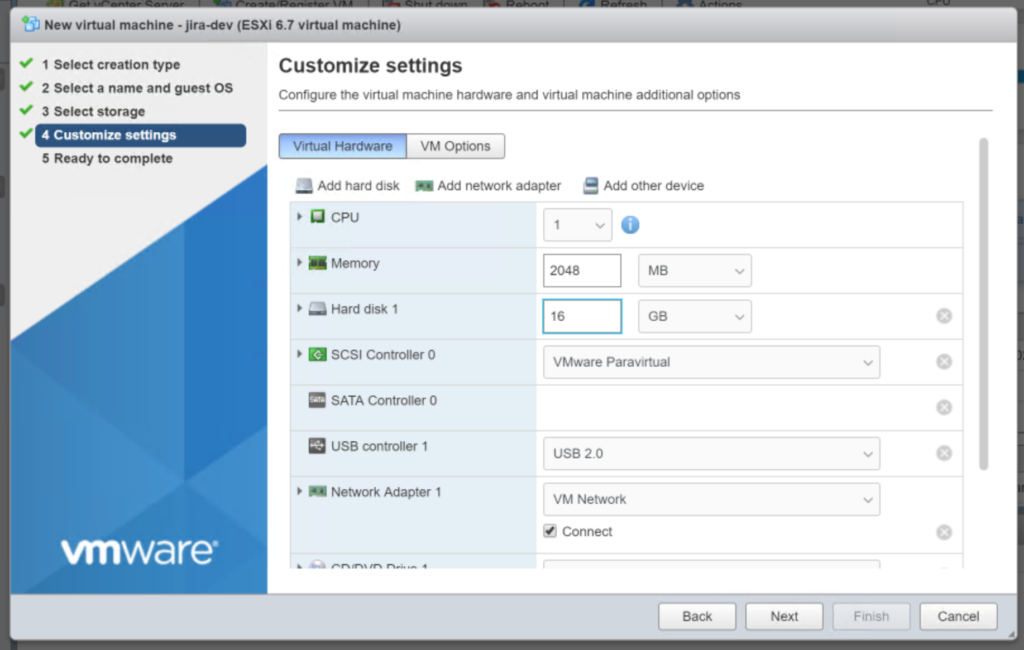
1.5 Determine the number of CPU’s, Memory and Hard disk space to allocate to this vm. Since we are doing a dev box I am going to leave these as the default. DO NOT hit next just yet!
NOTE: This is way undersized see the sizing guide if you are going to create a production server.
1.6 Download / Mount the Debian 9.7 ISO to the CD drive.
First you want to download the ISO from Debian here. If you have trouble just trust try this link to direct download the file. Once you have the file “debian-9.7.0-amd64-netinst.iso” you want to upload it to your VM ware server, which we will do from our New VM window…
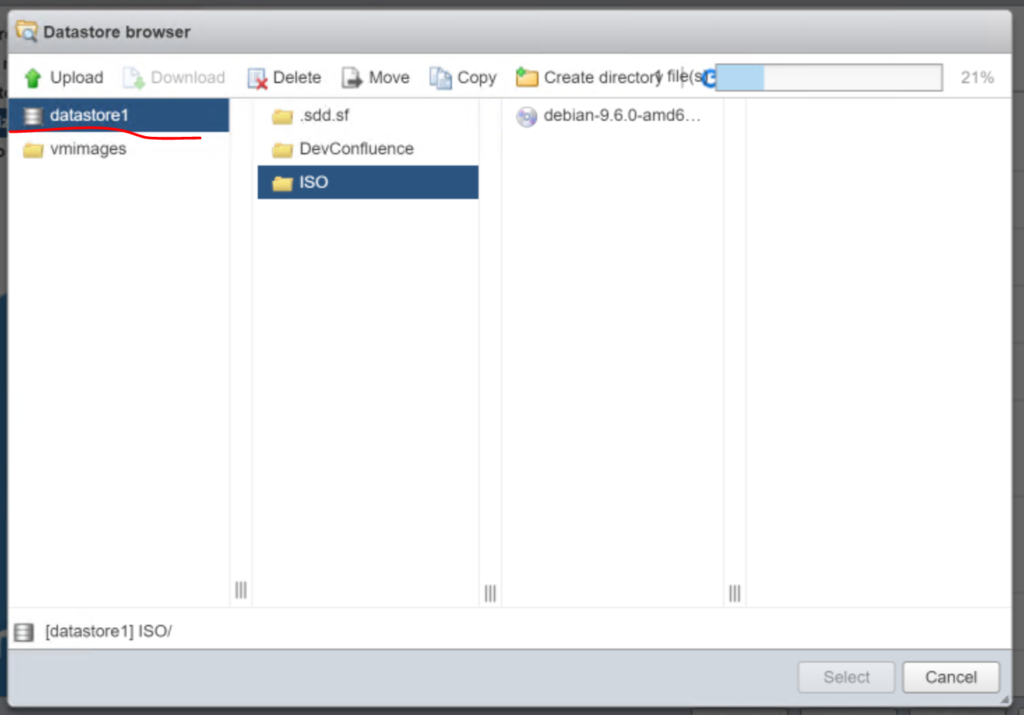
Scroll down to “CD/DVD Drive 1” and Select “Datastore ISO file”
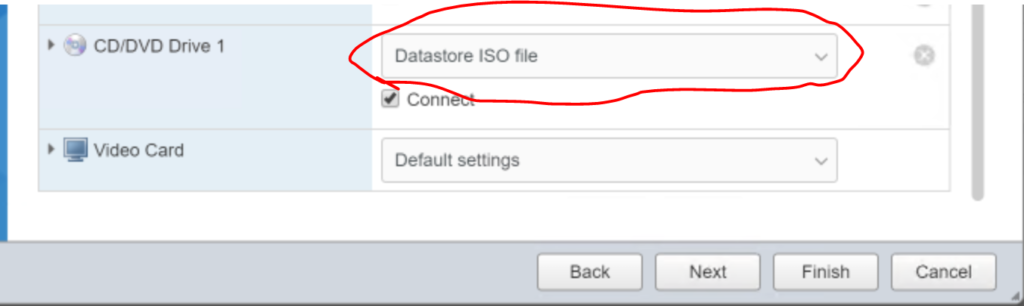
A window will pop up to browse the datastore. In this situation I have created a directory on my “datastore1” called “ISO” and then I clicked on the folder and then clicked the “Upload” button selected the “debian-9.7.0-amd64-netinst.iso” file from my downloads folder. Note I already had a copy of the debian 9.6 iso in the folder.
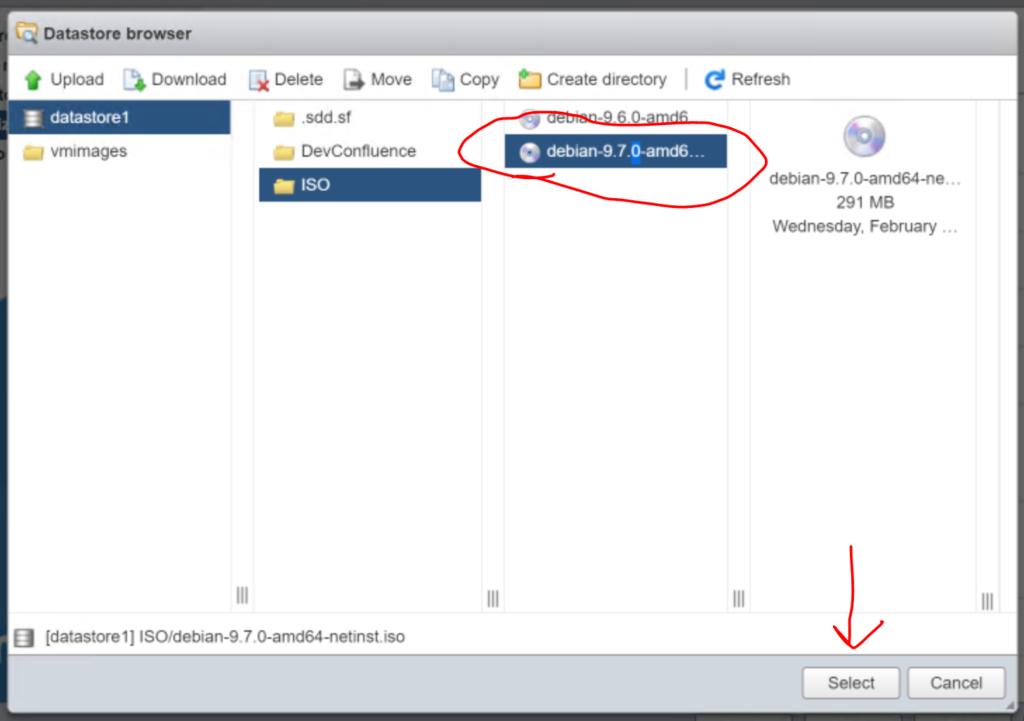
Once the file is uploaded, click on it and then click “Select“
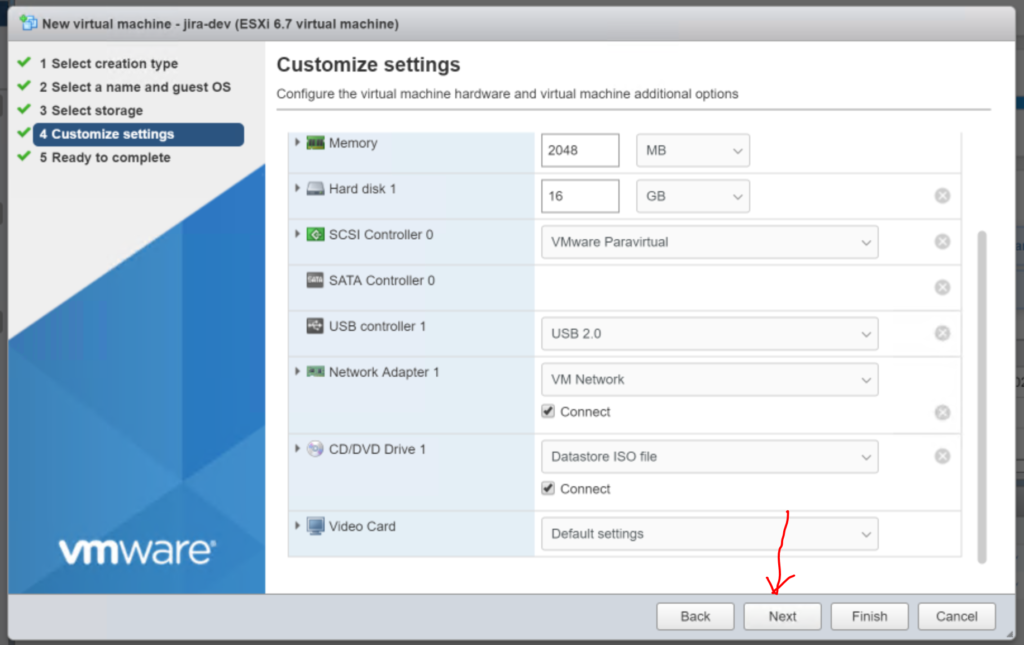
1.7 Create the Virtual Machine.
Click “Next”, review the settings if you like and/or click “Finish“. The window will close automatically.
Step 2: Install Debian
Now we are going to install Debian. By default we just need to power on the virtual machine we just created.
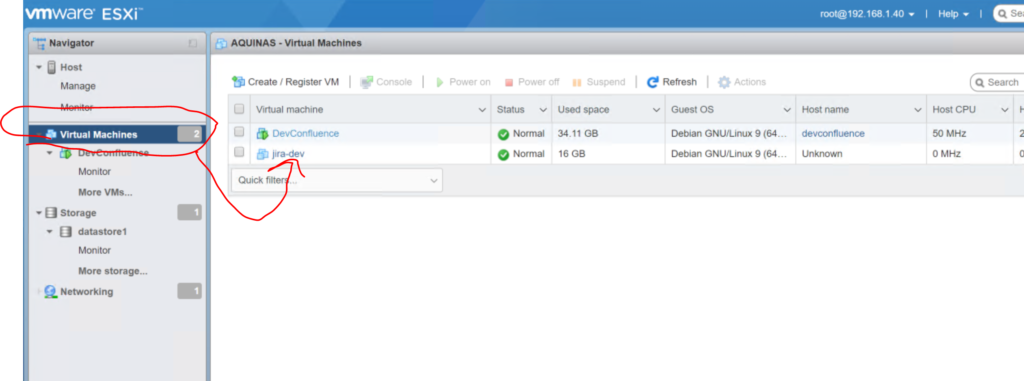
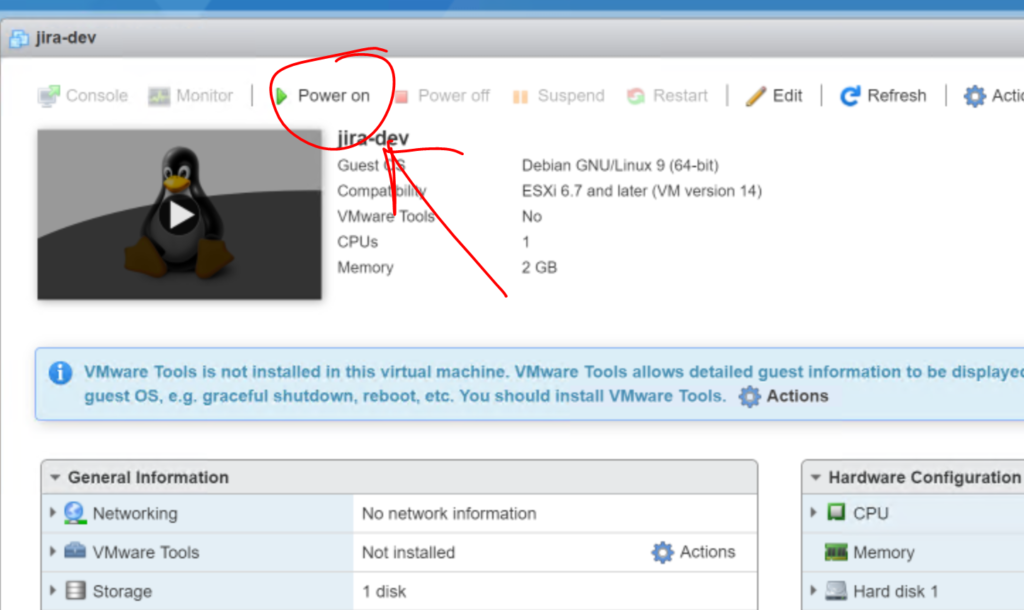
2.1 Power on ‘jira-dev’
Click on “Virtual Machines” then click on “jira-dev” in the pane. The Pane should switch to display the virtual machine.
Click “Power on“. The penguin in the window should change to the default Debian screen almost instantaneously.
Now you want to click on the “Console” button then select “open browser console” to open the actual console to do work.
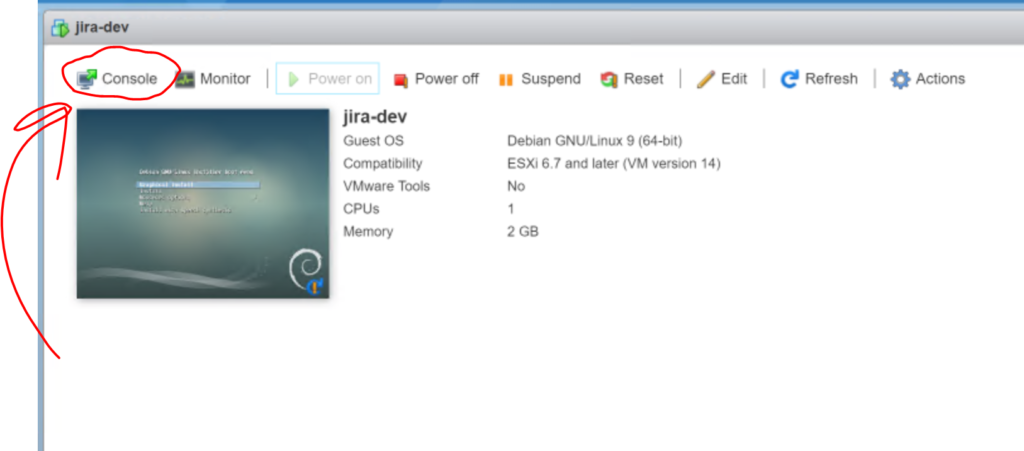
The console will open up like this:
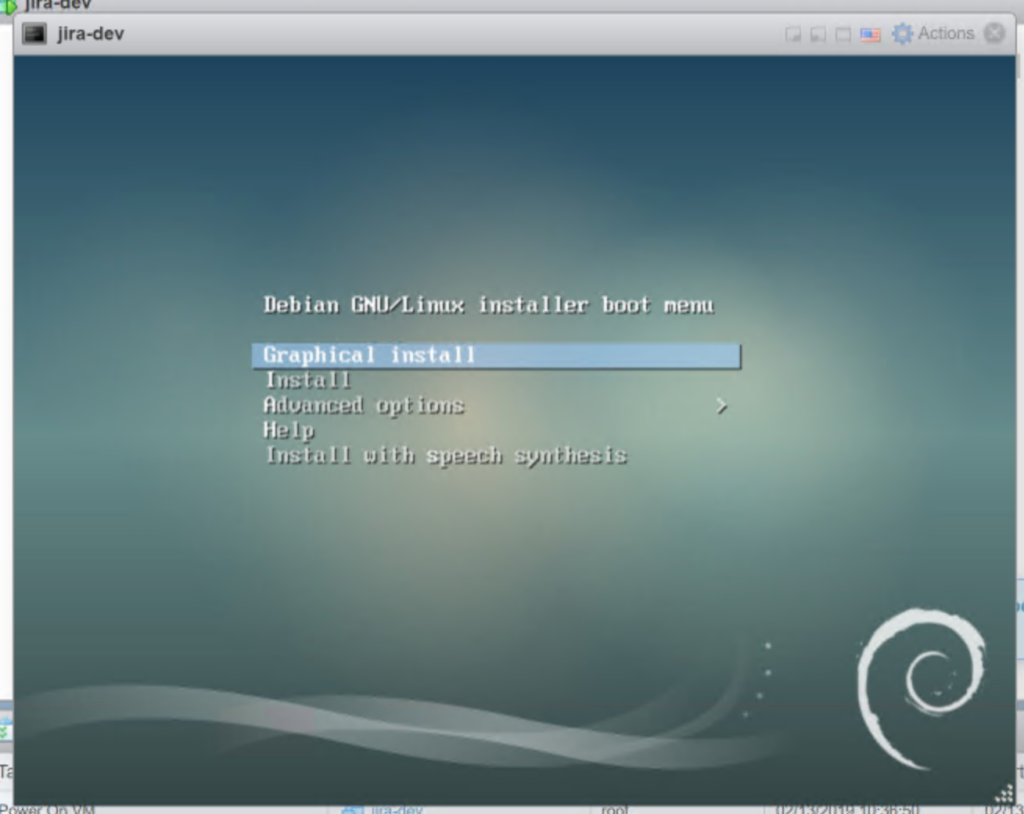
2.2 Now start the installer.
Click inside the console to enable it so you can interact with the VM. Once you have focus in the VM hit the enter key on your keyboard to start the “Graphical Install“. The window should resize when you do that and look like this:
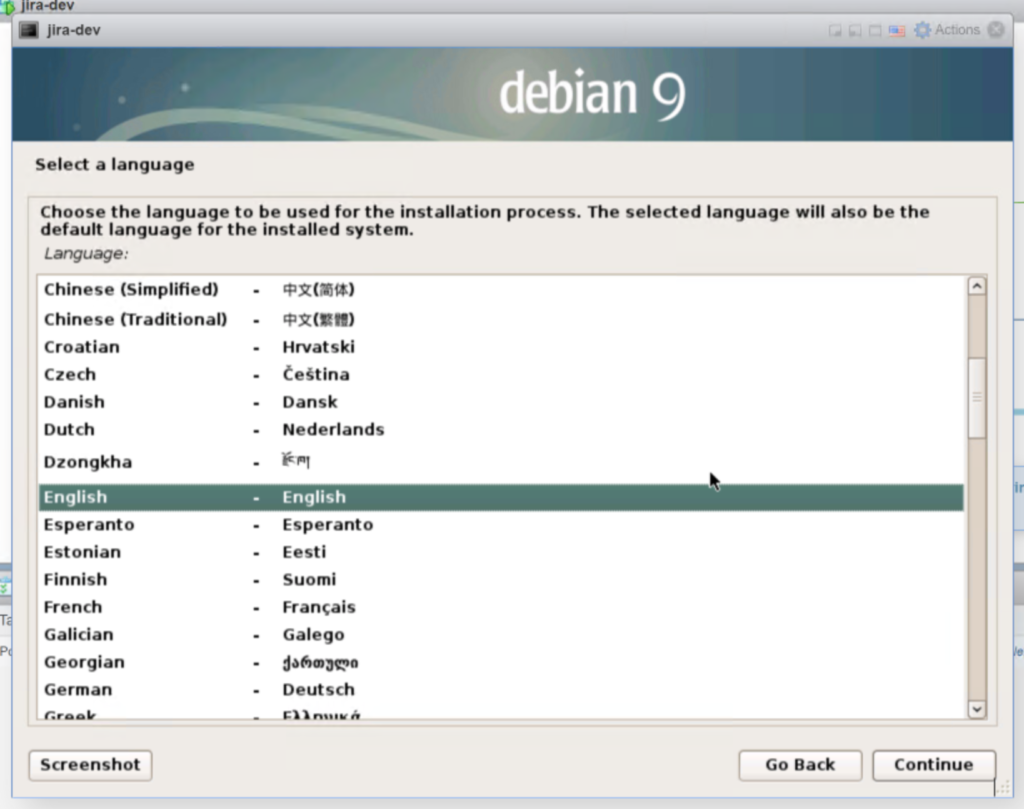
2.3 Run through the keyboard and other setups.
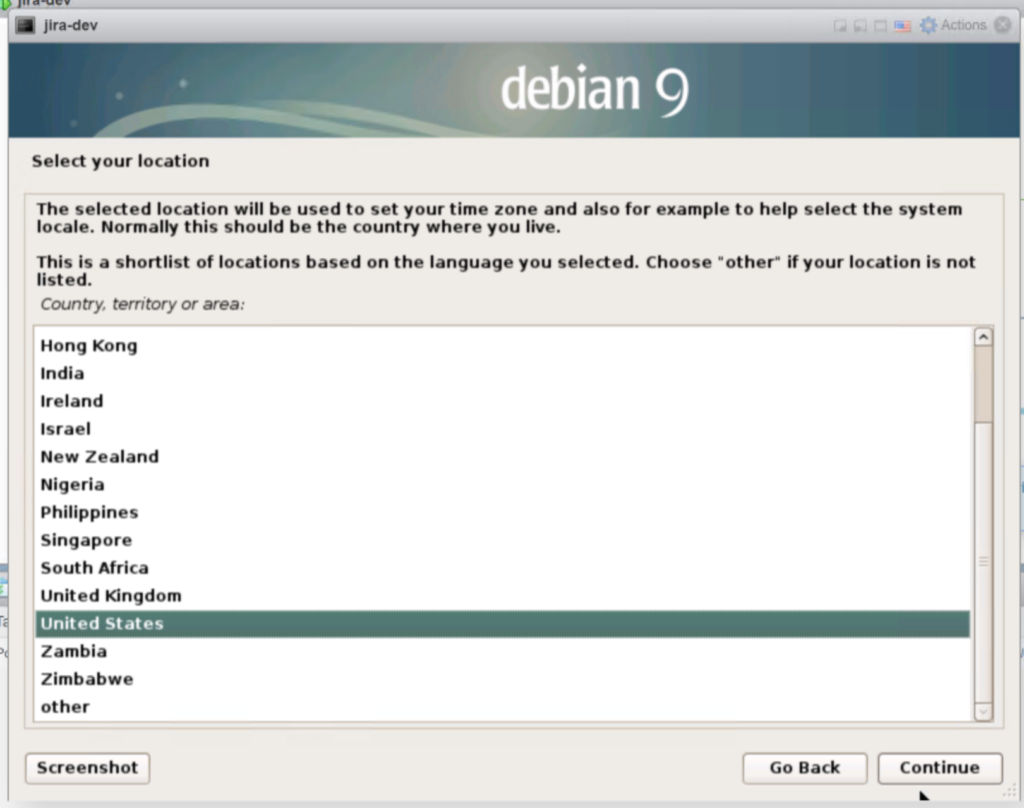
Select “English” and click “Continue“. Then Select “United States” and click “Continue”.
Then Click “American English” and click “Continue“.

The system will start to install some base components it will take a minute if not seconds to complete.
2.4 Name the server. Change the default hostname from “Debian” to “jira-dev“. Click “continue“.

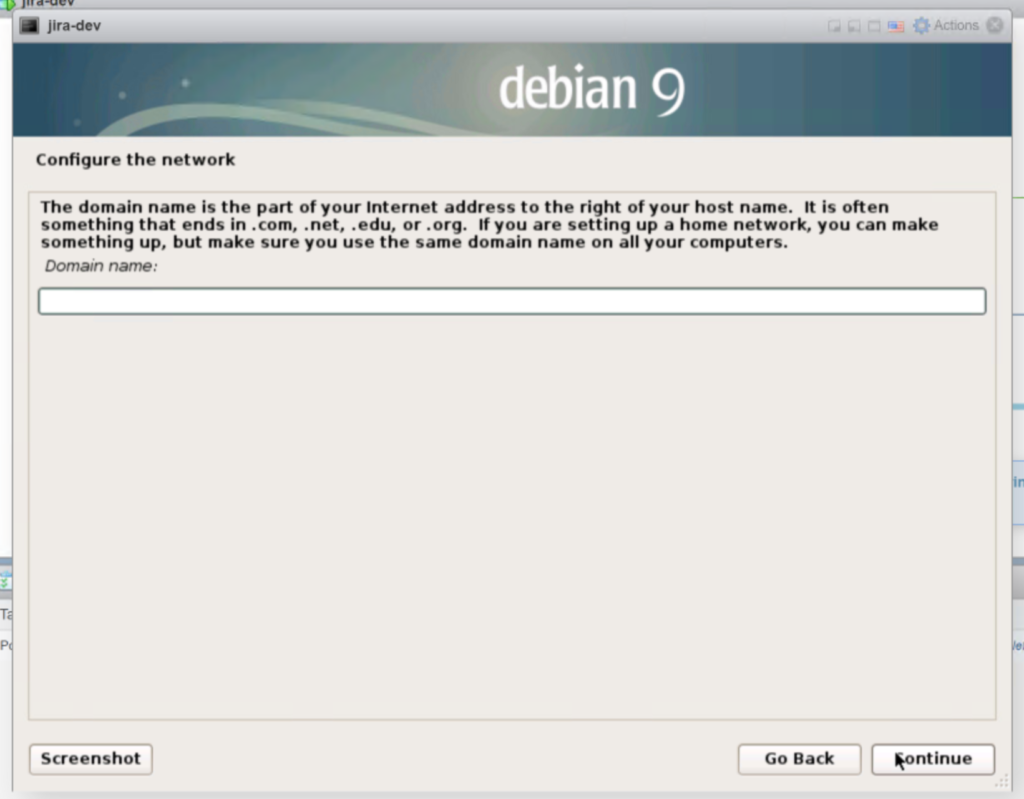
The next screen you can enter the domain name. In this demo I will leave it blank. NOTE: you may want to put this on a domain someday, it will be a lot of editing files down the road if you want to do that later, so if you have a FQDN name like jira-dev.key-cell.com this is were you want to put in a domain.
In this demo I left it blank and clicked “Continue”
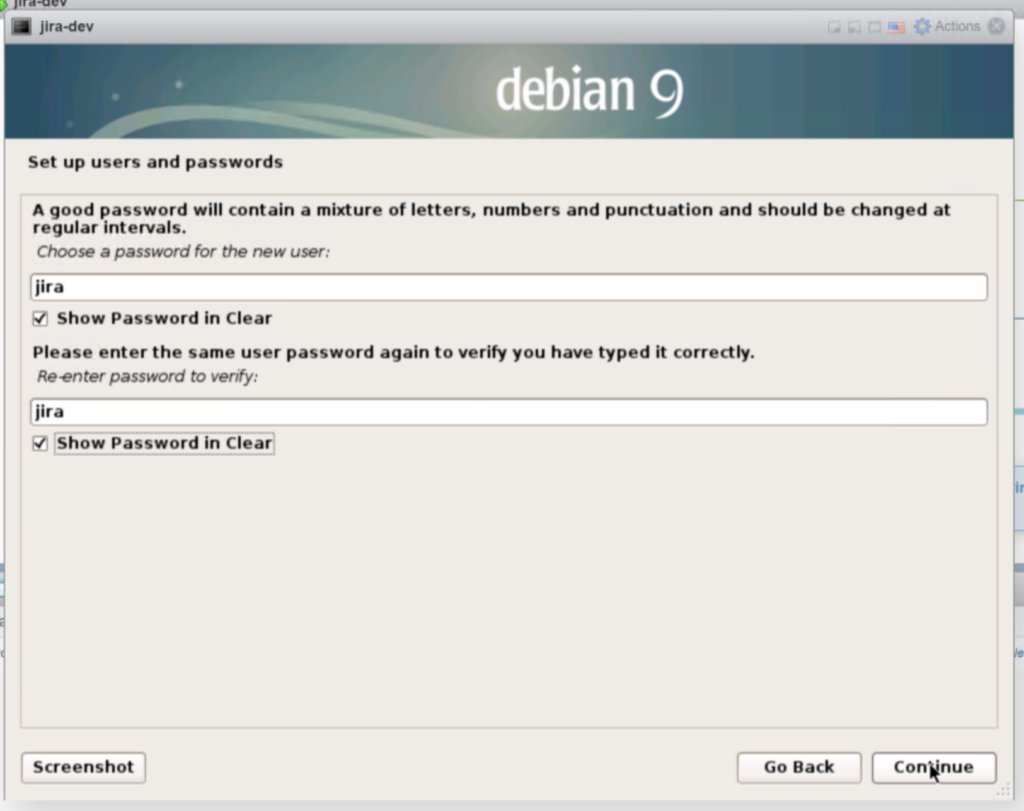
2.5 Passwords.
If you like to live dangerously and be hacked a lot, type in a really simple password like ‘jira’. If you don’t then maybe you can come up with something a little longer and more complex. But for this demo, lets just do ‘jira’. NOTE: best practices would indicate even in a demo server you want something that will not be guessed on the 3rd try like I have done here. AKA put in a better password.

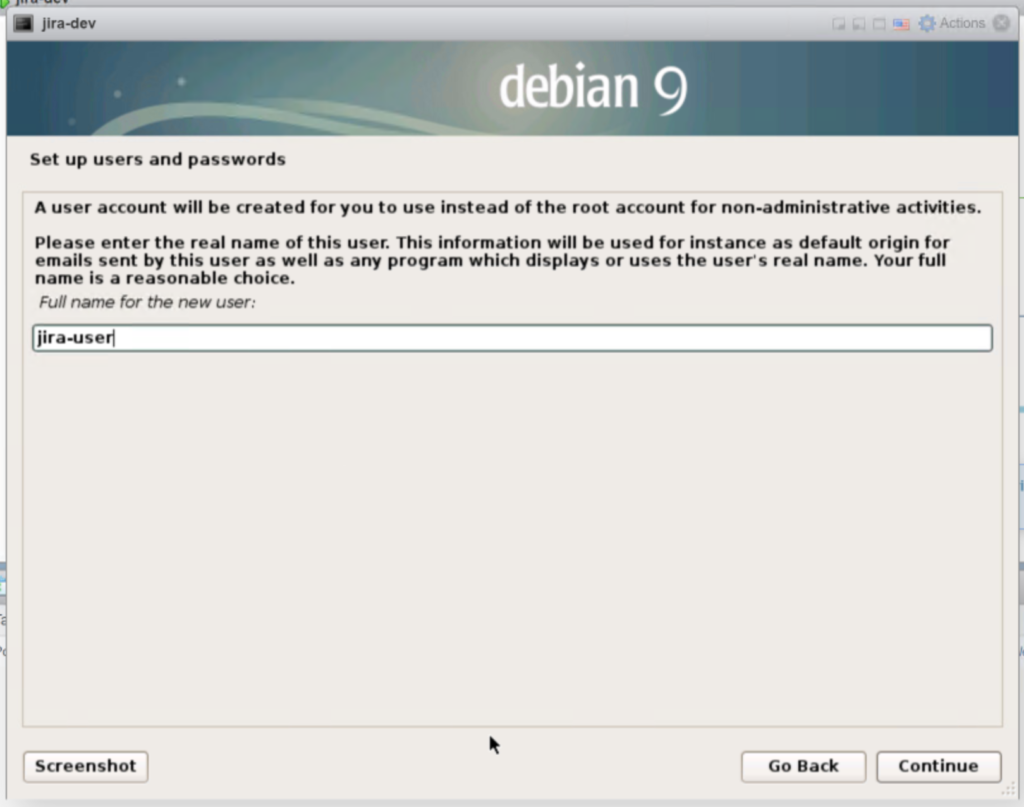
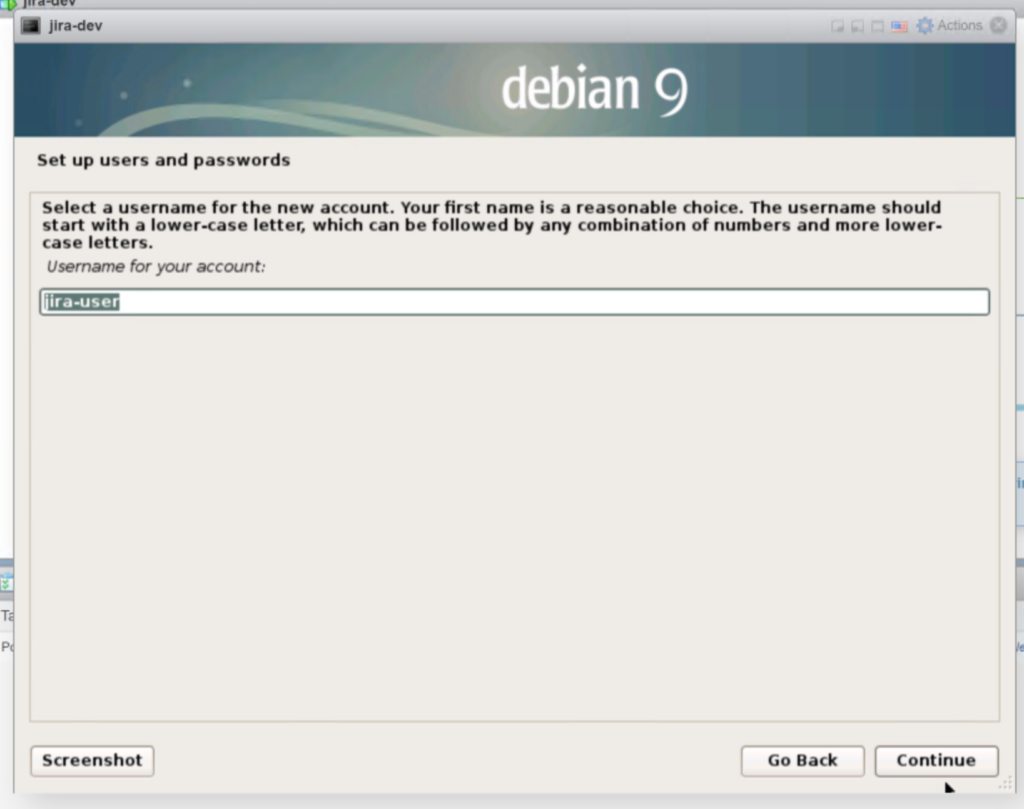
In the next three screens designate a defualt user full name, username (this will be the login), and their password. I will call my user “jira-user’ and use the same password ‘jira’ just to keep things simple in my demo. I recommend better passwords always.
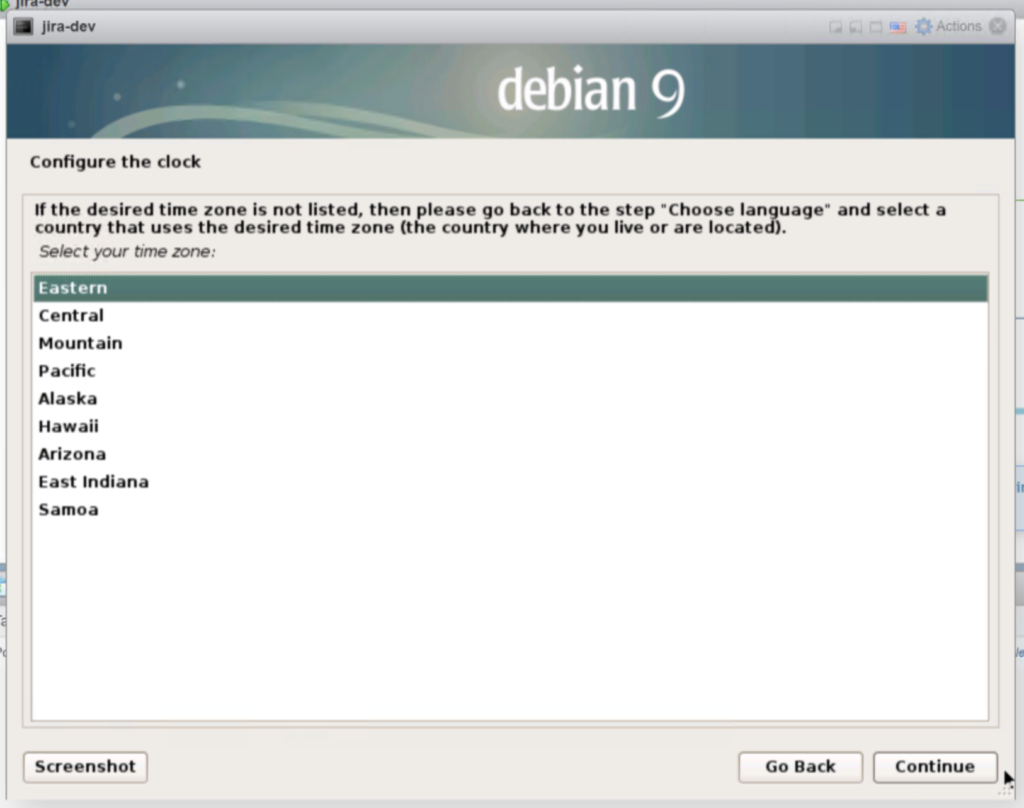
Configure your clock, in my case just click “Continue“
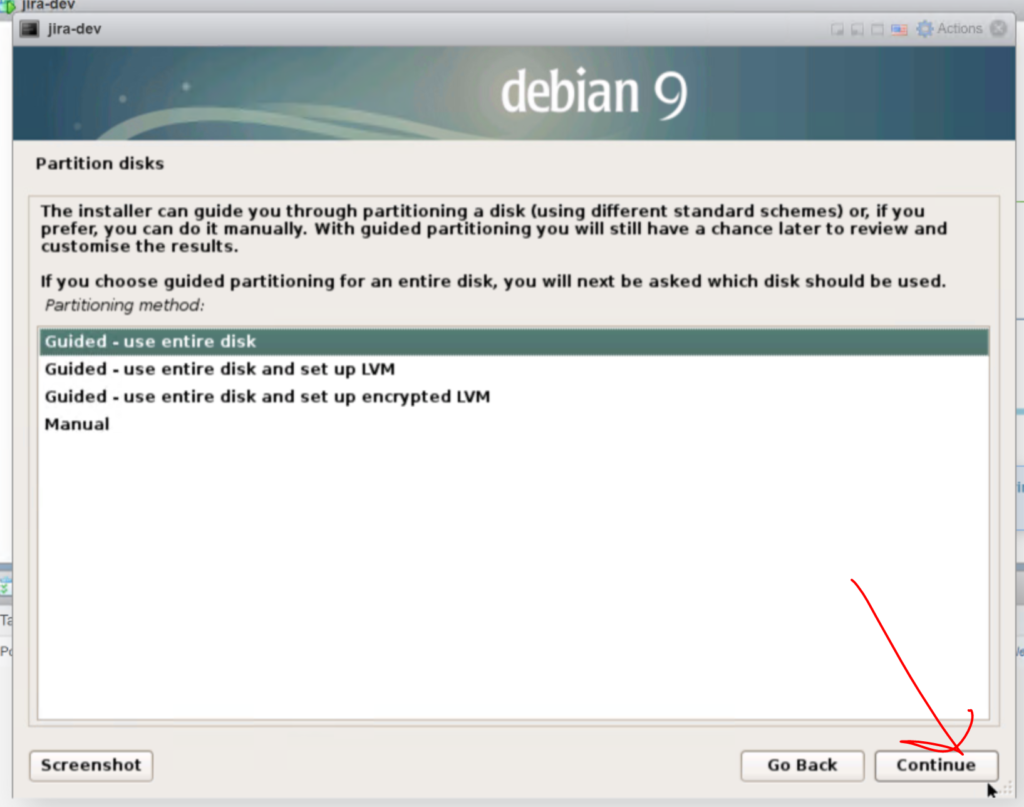
The system will now scan your disks and ask you how you would like to partition them. Just go ahead and make sure “Guided – use entire disk” is selected and click ‘continue‘
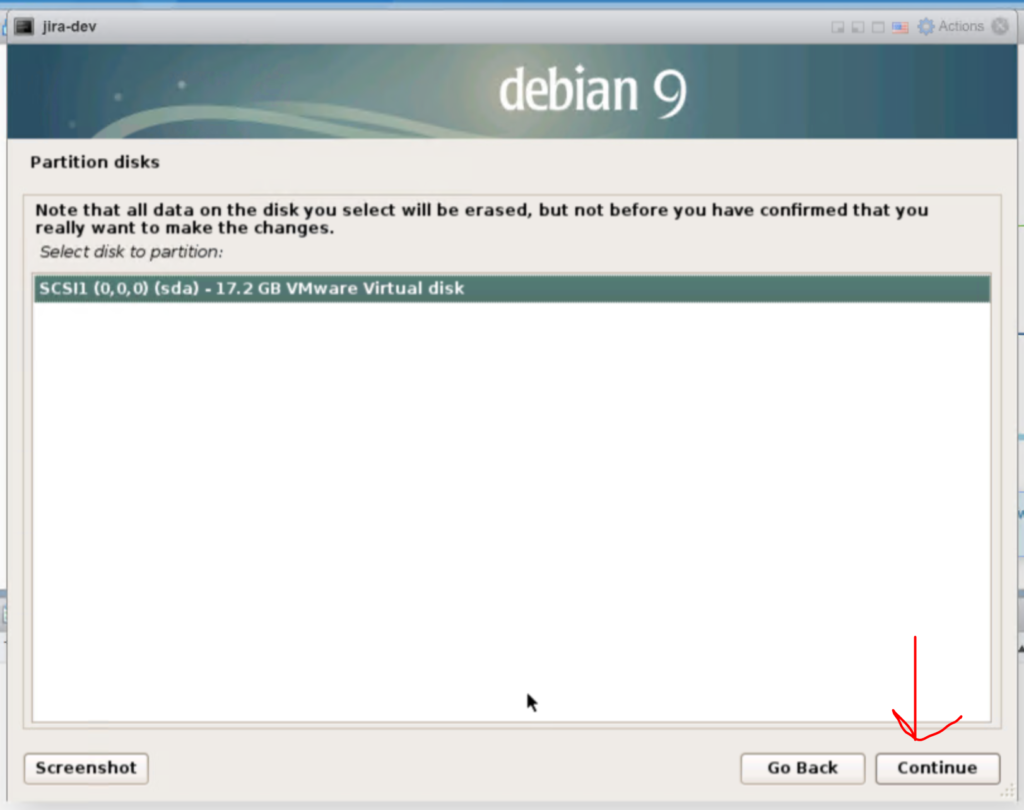
It will now prompt you that you are about to delete all the data on the hard disk. Press “Continue” if you are sure.
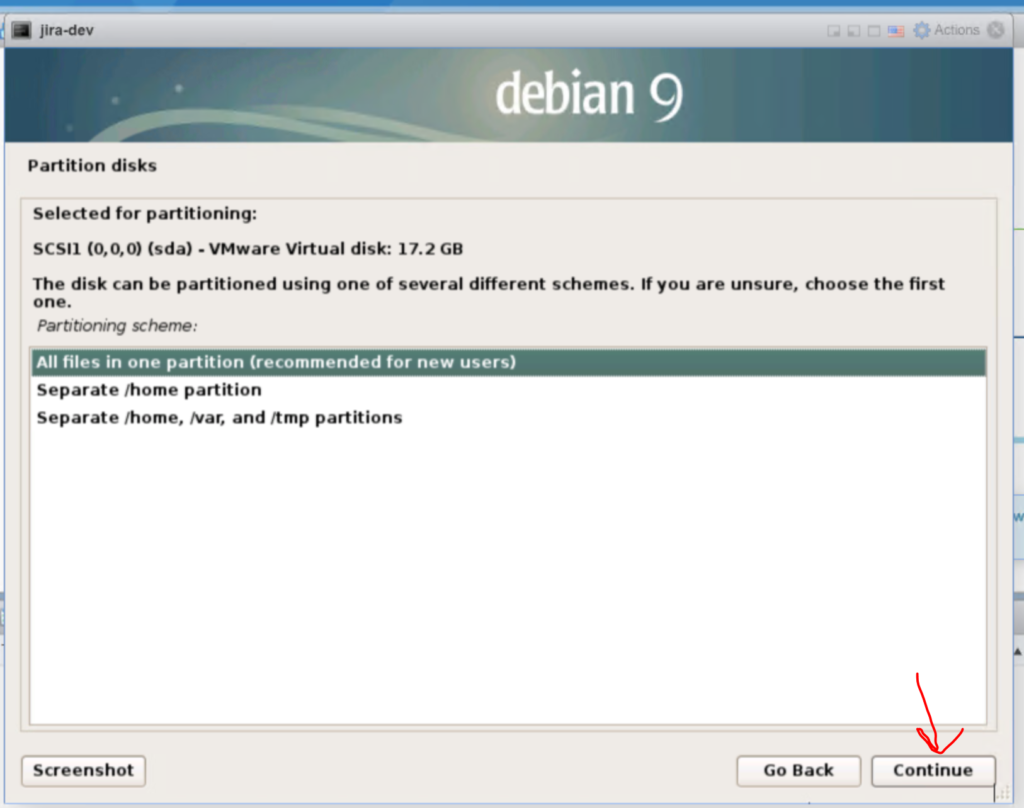
After that you want all the files on the same partition, press “continue”.
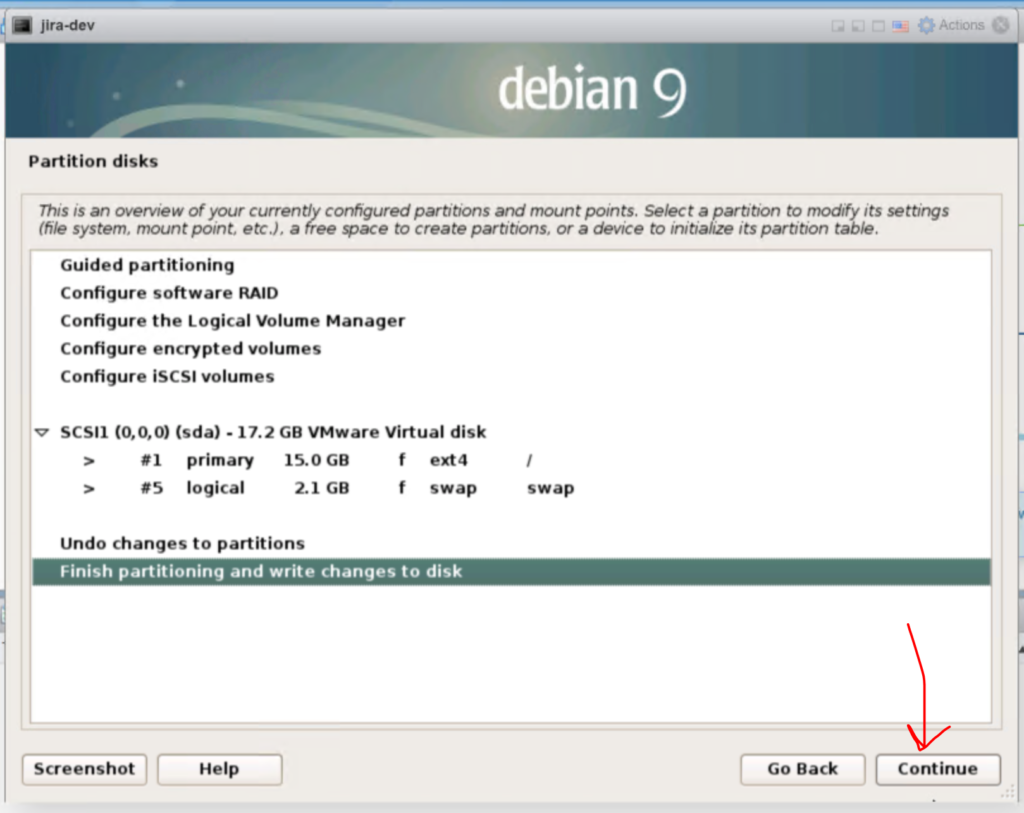
At the overview you just need to hit “continue“
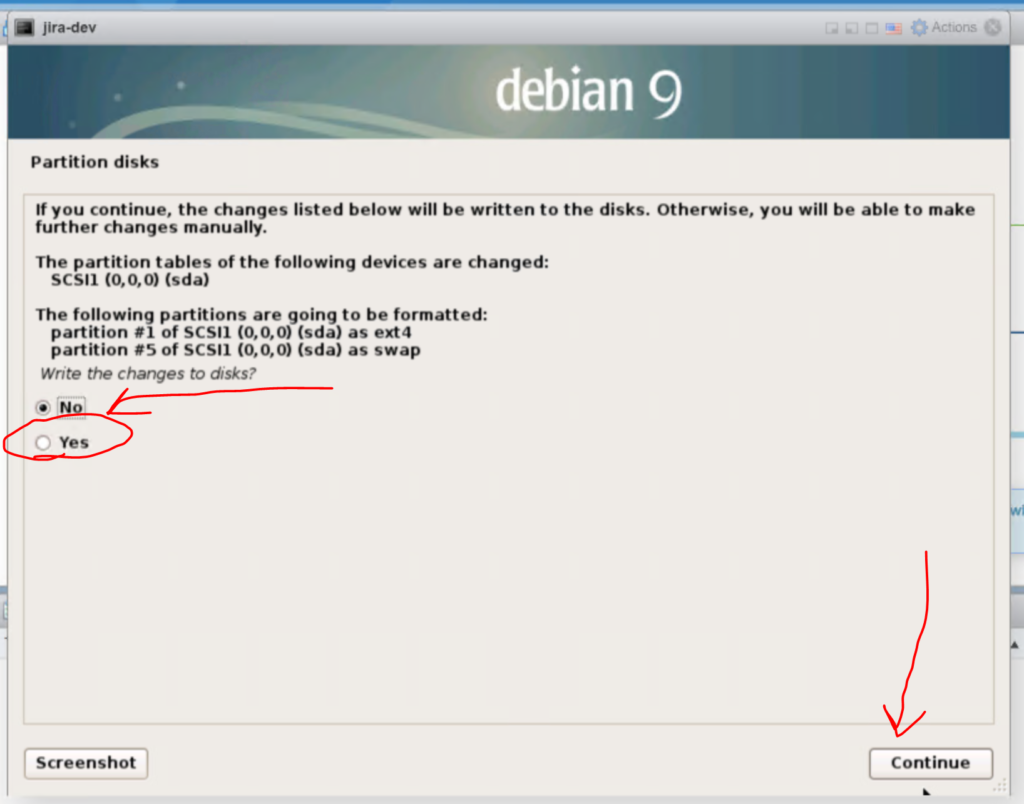
And if the last 3 continues were not good enough, now you have to tick “Yes” and then hit “Continue” to actually erase the disks data. Do it!
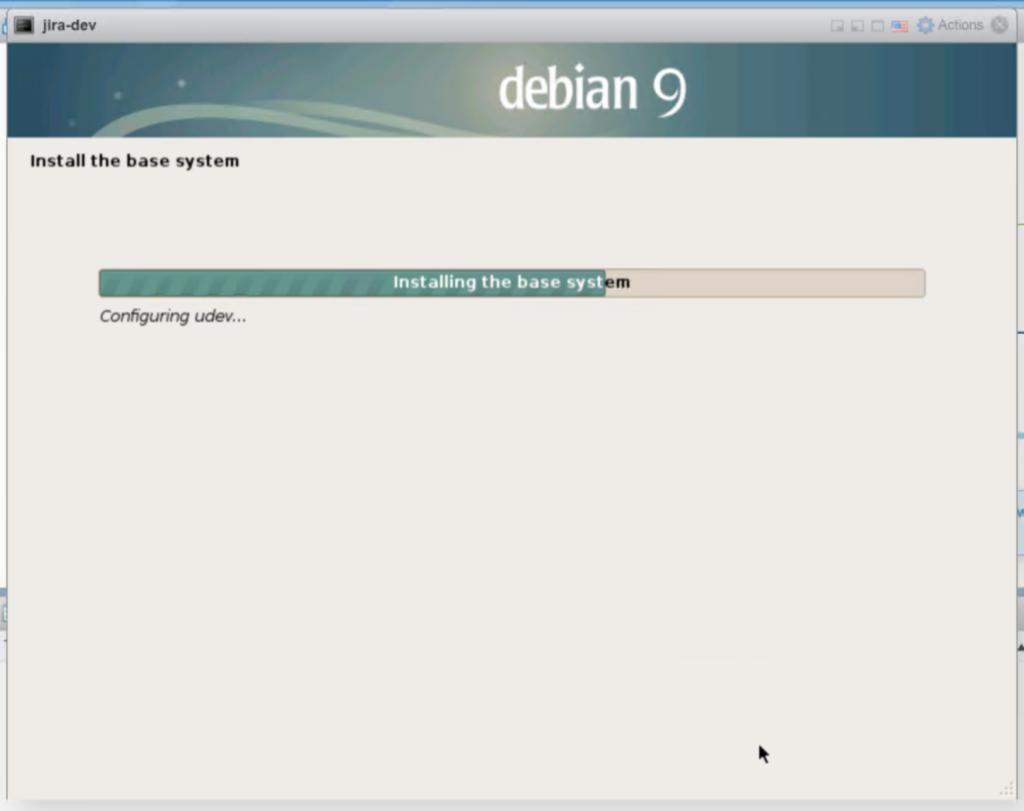
In a few seconds the system will be configured, watch that progress bar grow…
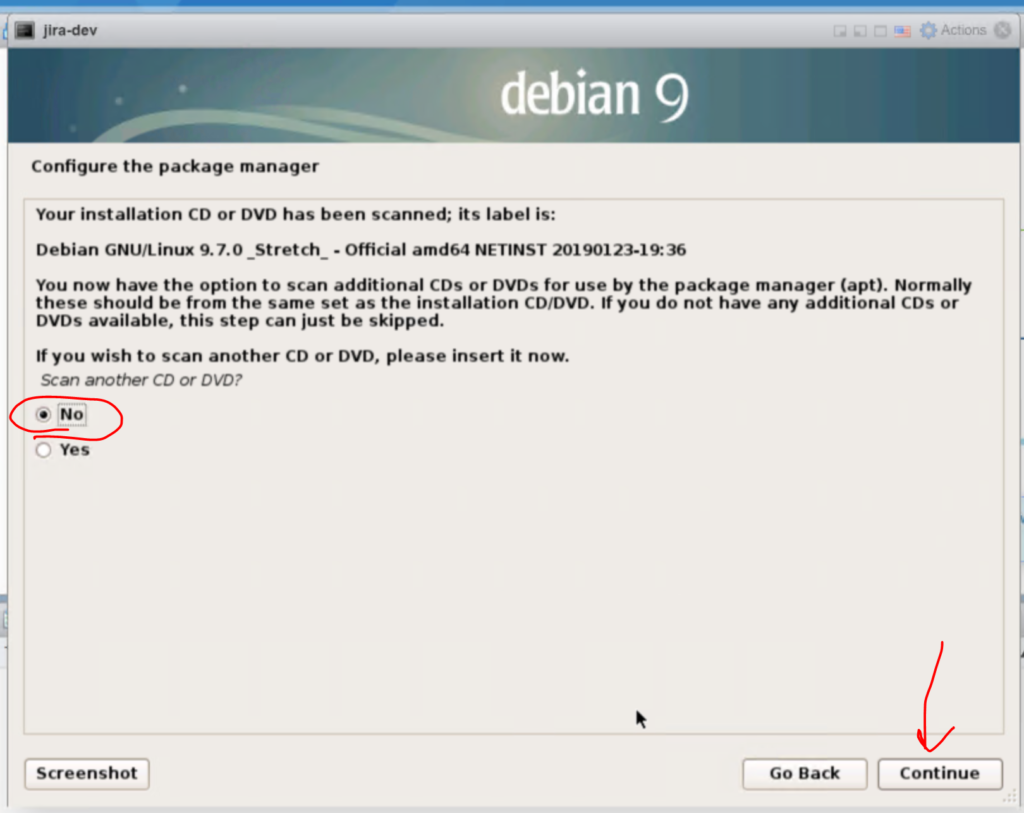
After the base system is installed the installer will want to know if you have any other disks. You probably don’t. We will just go with making sure no is selected and clicking “continue“.
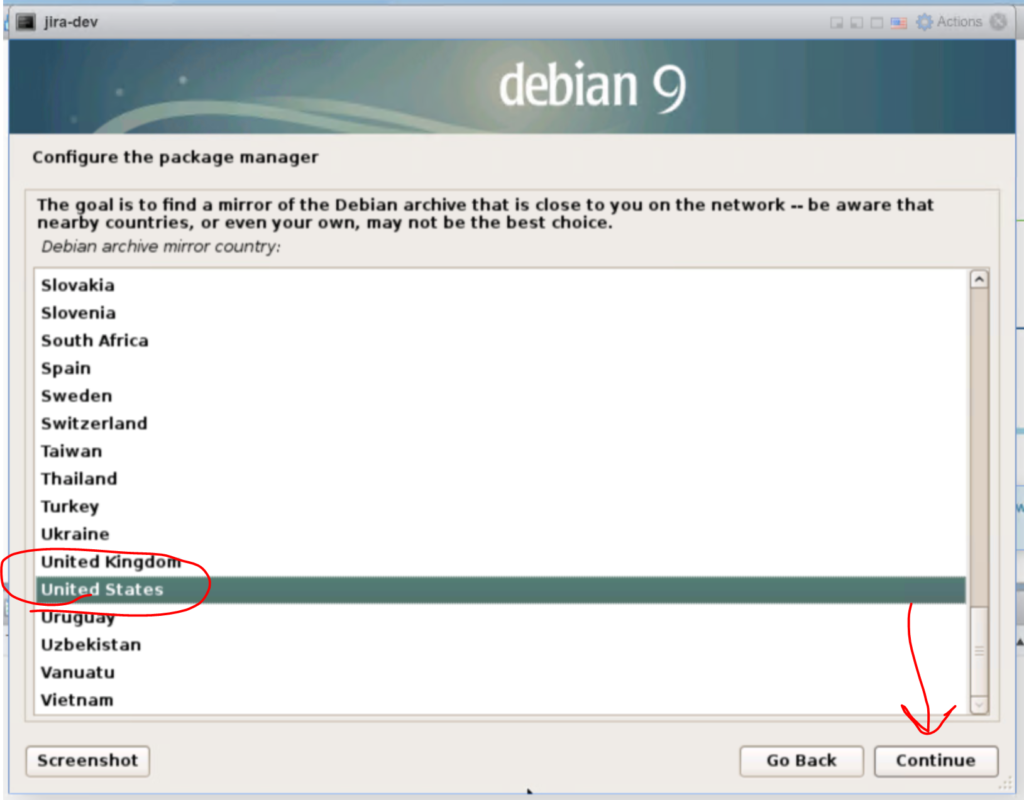
Next we will configure the package manager. We will select the “United States“, cause merica! And click “Continue“
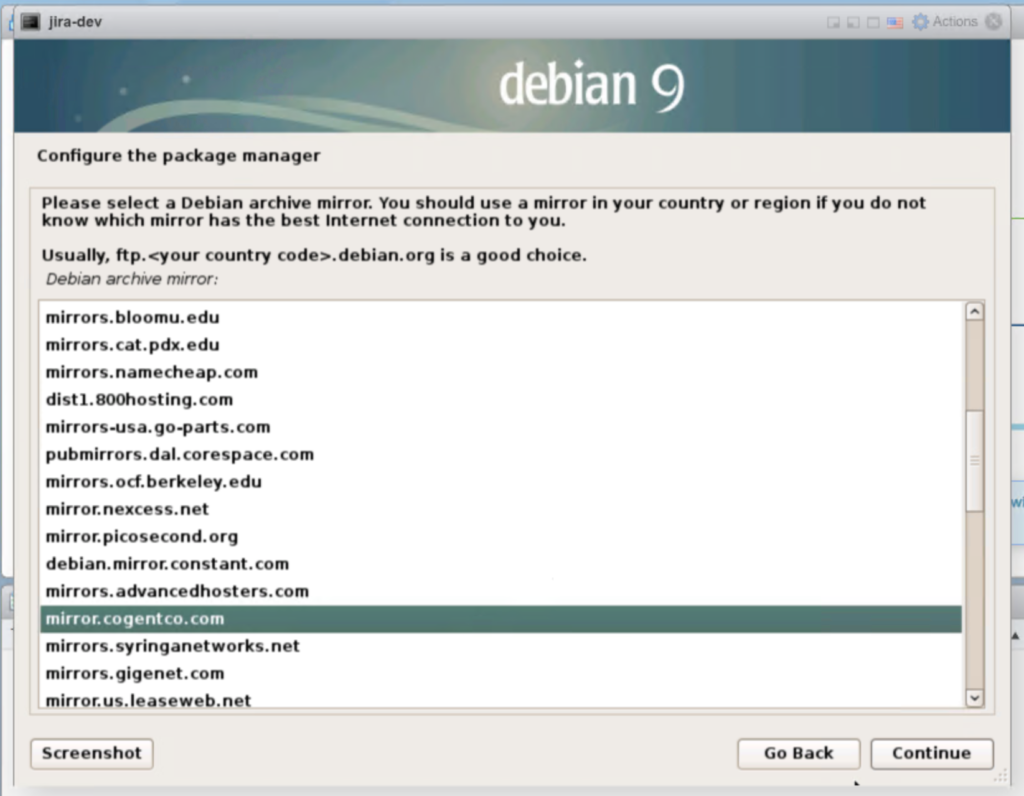
Then you will select a mirror to get updates from. In my case I select “mirror.cogentco.com” feel free to leave it ftp.us.debian.org if you want. I change it to Cogentco, because they are an amazing ISP who I would highly recommend to anyone after doing business with them for over 5 years. Once you have selected a company go ahead and smash that “continue” button.
The next step we just leave the proxy setting blank, and hit “continue“.
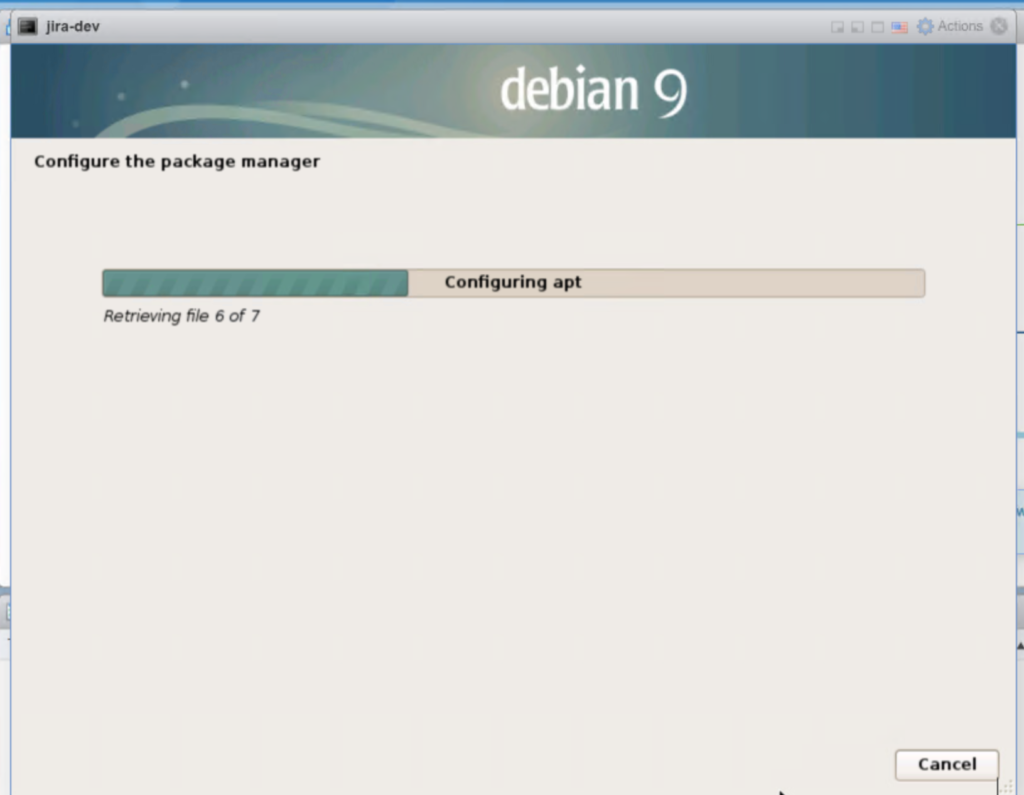
Apt will configure, download, & install all the basics.
We will opt out of the popularity contest, select “no” and click “Continue“.
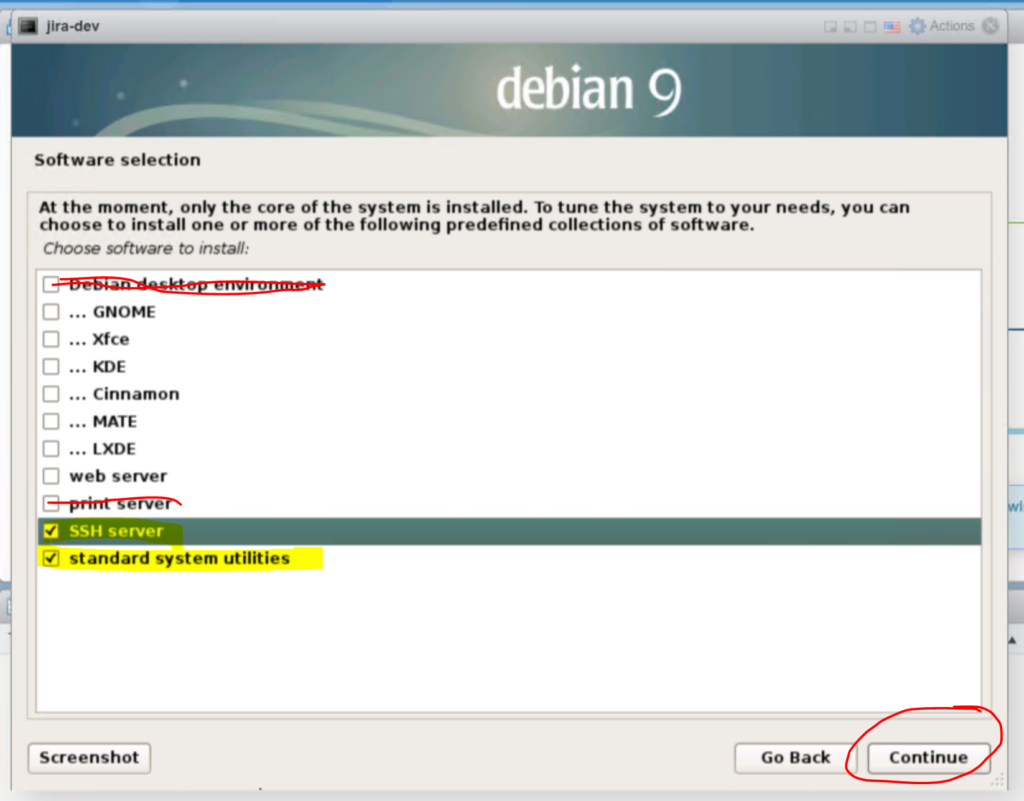
At the next screen you need to uncheck “Debian desktop enviroment” and uncheck “print server“. Then you need to check “SSH server“. So it looks like the following down below.
You don’t want the bulk of the desktop experience, and we will do most of the 2nd part of the tutorial from SSH, because we can cut and paste code in an SSH terminal from this tutorial.
Click “Continue“.
Everything should install nice and fast, maybe 2 minutes give or take some time.
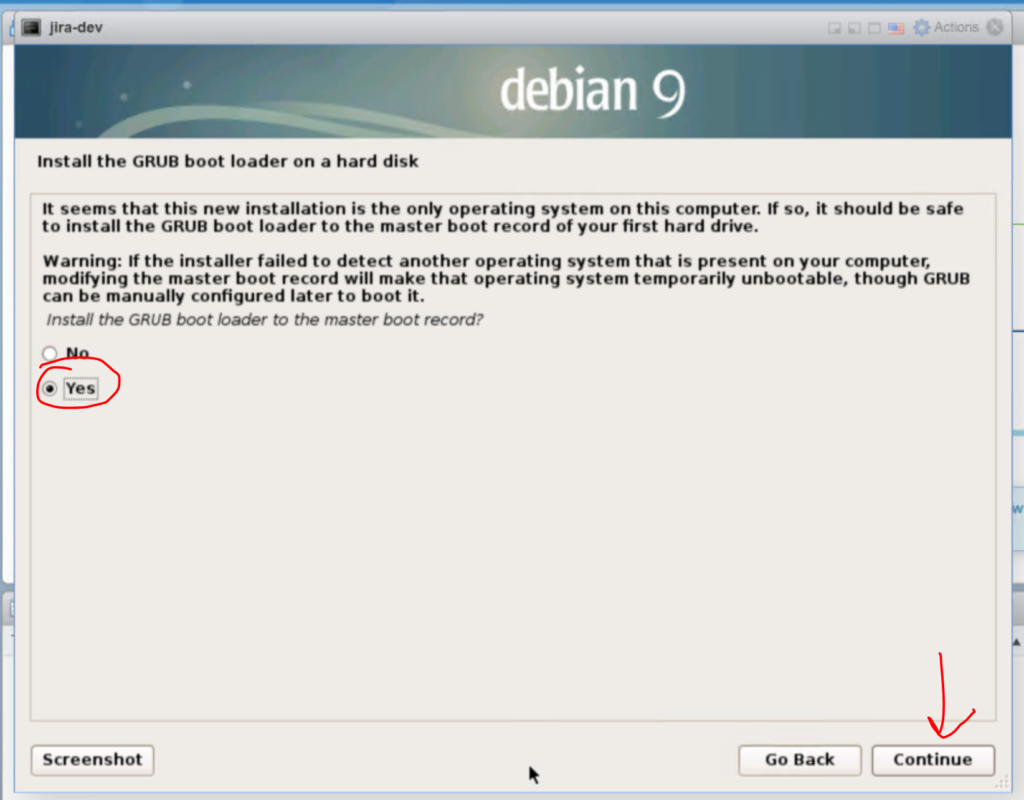
When it is done tick “Yes” that you want to install the GRUB Bootloader. Then click “
Select “/dev/sda” on the next screen, or your hard disk. and click “continue”.
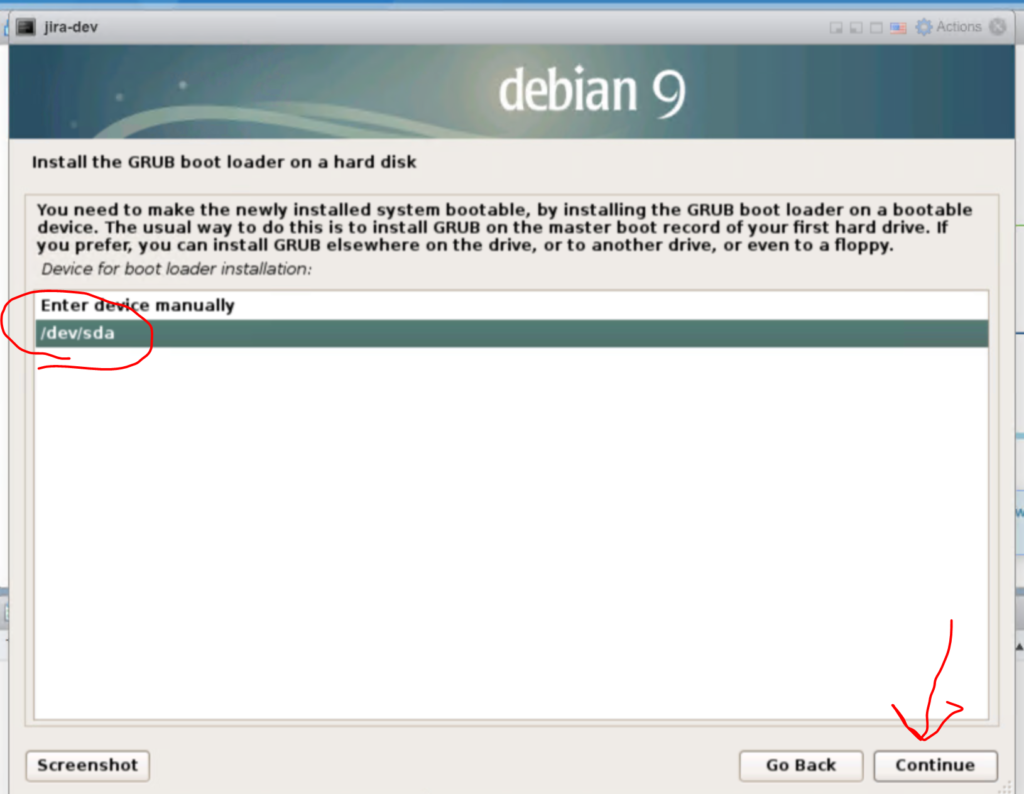
GRUB will install, and then installer will finally finish.
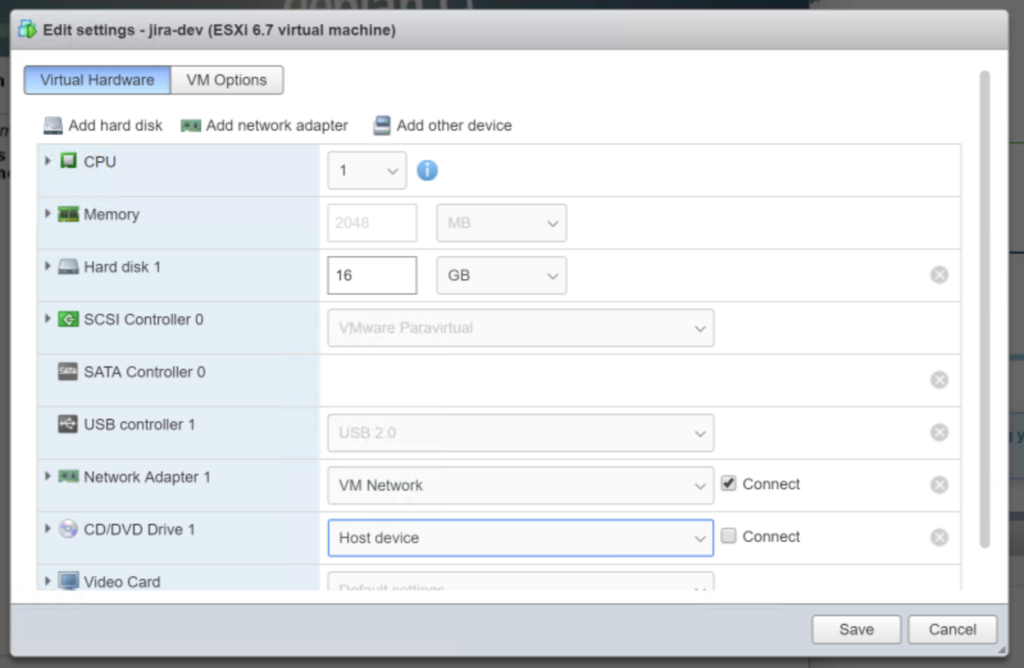
There is a warning to eject the media, which we will do by clicking on the “Actions” button in the top of the console window and selecting “Settings“
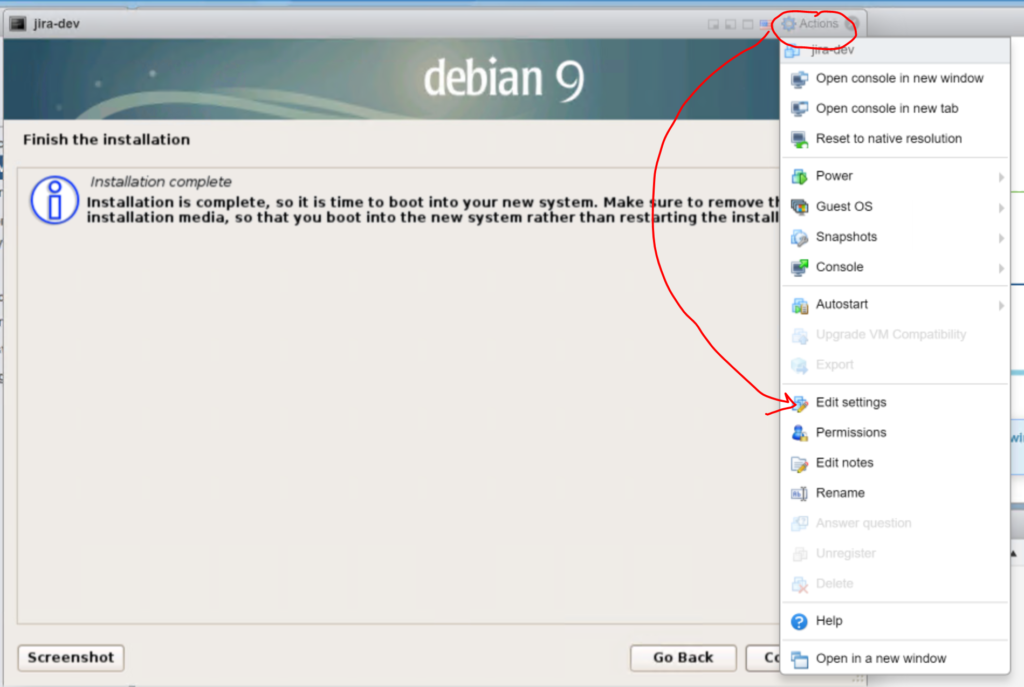
Scroll down to the “CD/DVD Drive 1” update the drop down to to “Host device” and unclick “connect“. Click “Save” when you are done.
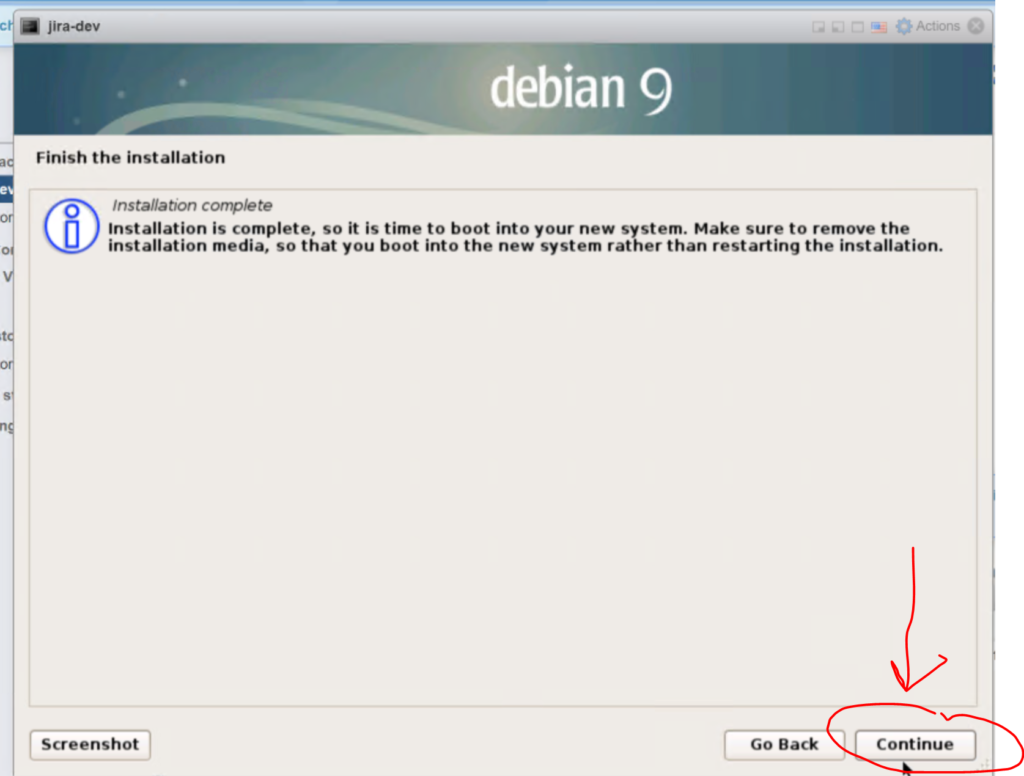
We are done! Go back to the console window and click “Continue“.
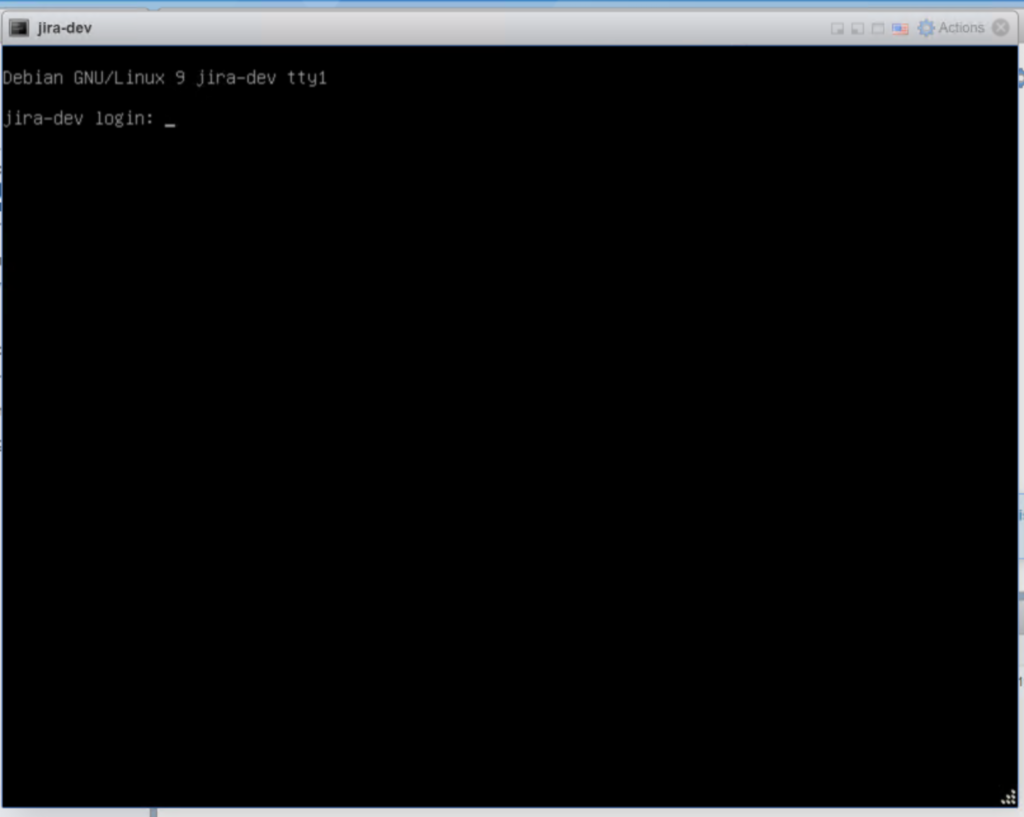
The server will reboot and hold at the GNU screen for 3 seconds and drop into a prompt to login.
This is were I am going to stop with this tutorial before we move on to the next one. It has been very long. A couple of things to consider. First we have really really bad passwords on this box. Make sure you make better ones. Second, This box should be pulling a DHCP IP address. We will want to change it to a static, first thing in the next tutorial, after that we will SSH in to the box for all future work, not that we don’t like the VMware console, but we like light weight servers with no GUI because lack a of a GUI means it is more stable and has less load (however small the GUI is).