This might be strange, Google Maps API has lots of different options. But lets images that you want to overlay a heat-map from Google onto your own custom map. A situation where you want just the heat-map but not the actual map. I have run into this once and wanted to share how we accomplished this.
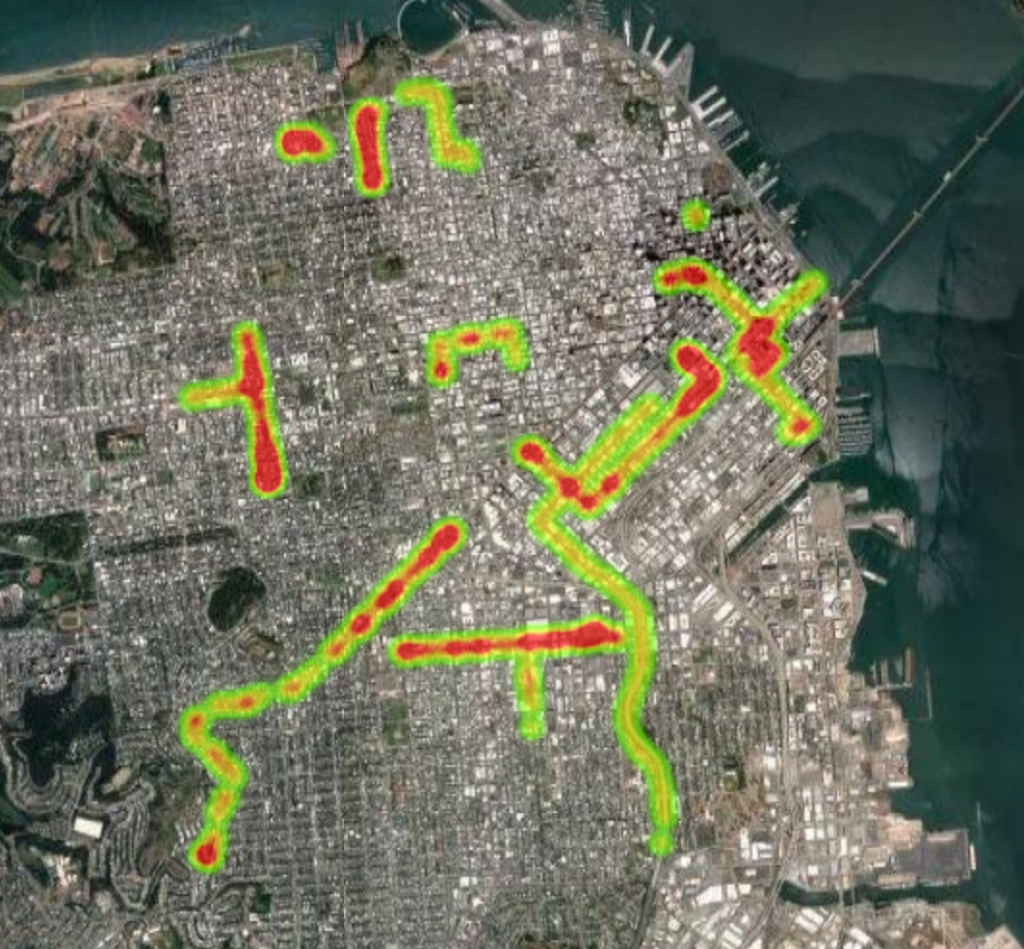
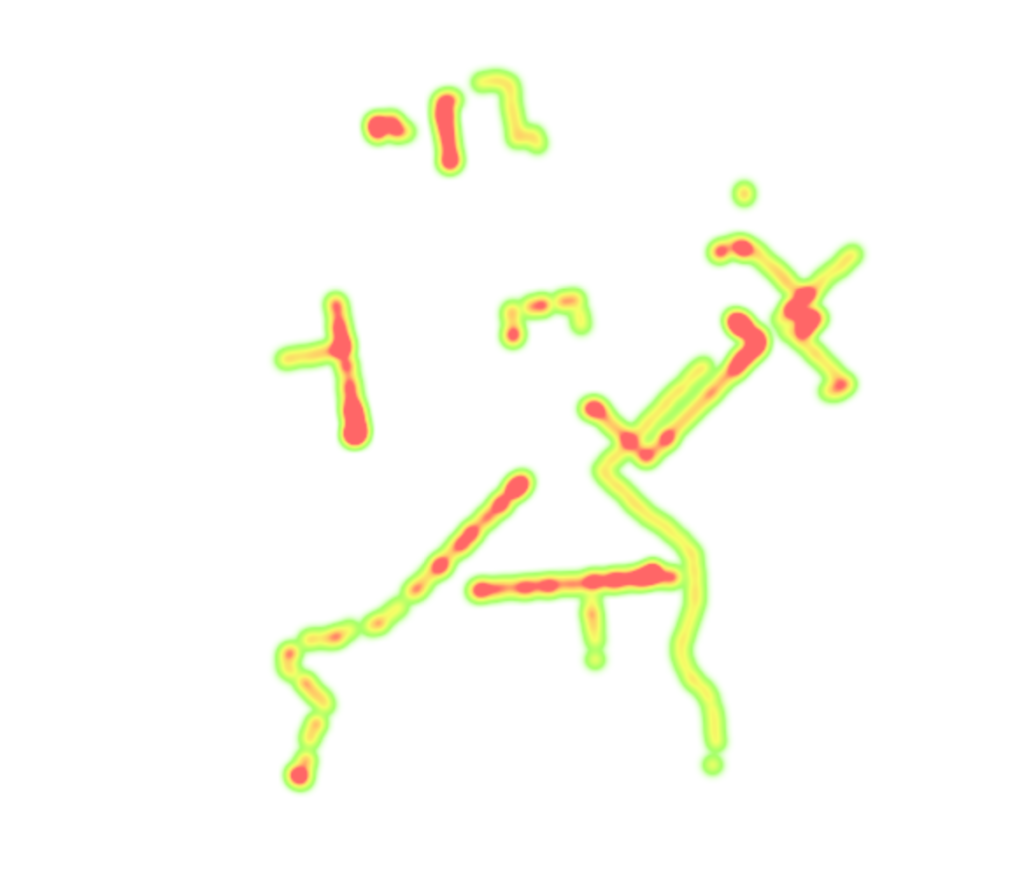
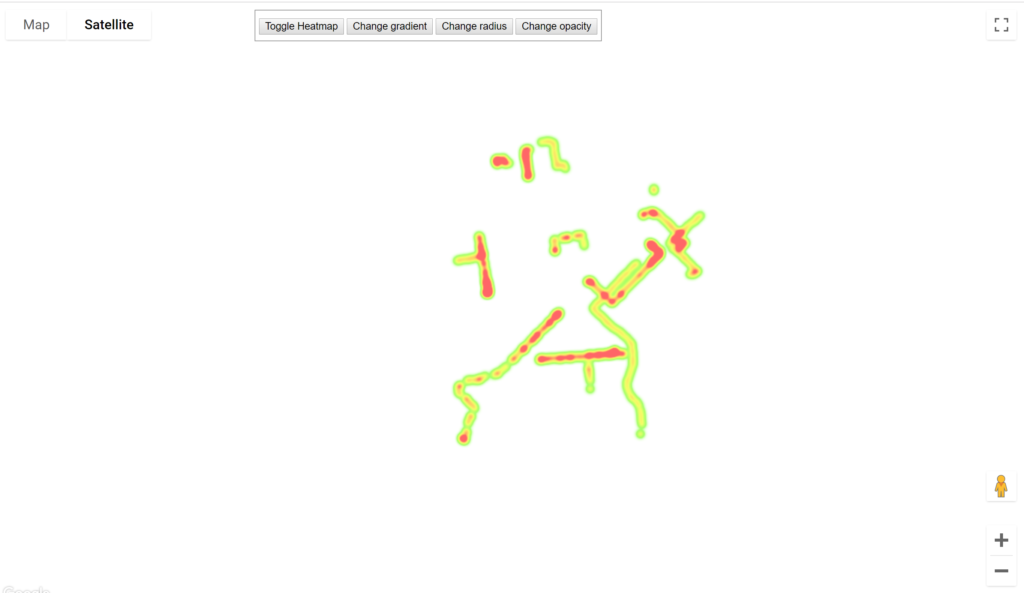
The goal is to take a google heat-map that uses the Google Maps API to display a custom heat-map, and to take the map out, just leaving the heat map, so we can take a screen capture and then drop it into photoshop to use over a custom map. I won’t go over the matt-process in photoshop but I will go over the steps to get to a browser.
Step 1. Get your heat-map working.
I am not going to go to far into this, there is tons of other documentation on how to make a heat-map from Google.
Step 2. Open the heat-map in Chrome
You are going to want to right click on the white area outside the button bar on the heat-map. Then click “Inspect”. A toolbar will fold out on the right hand side of the browser and the content will shift over.
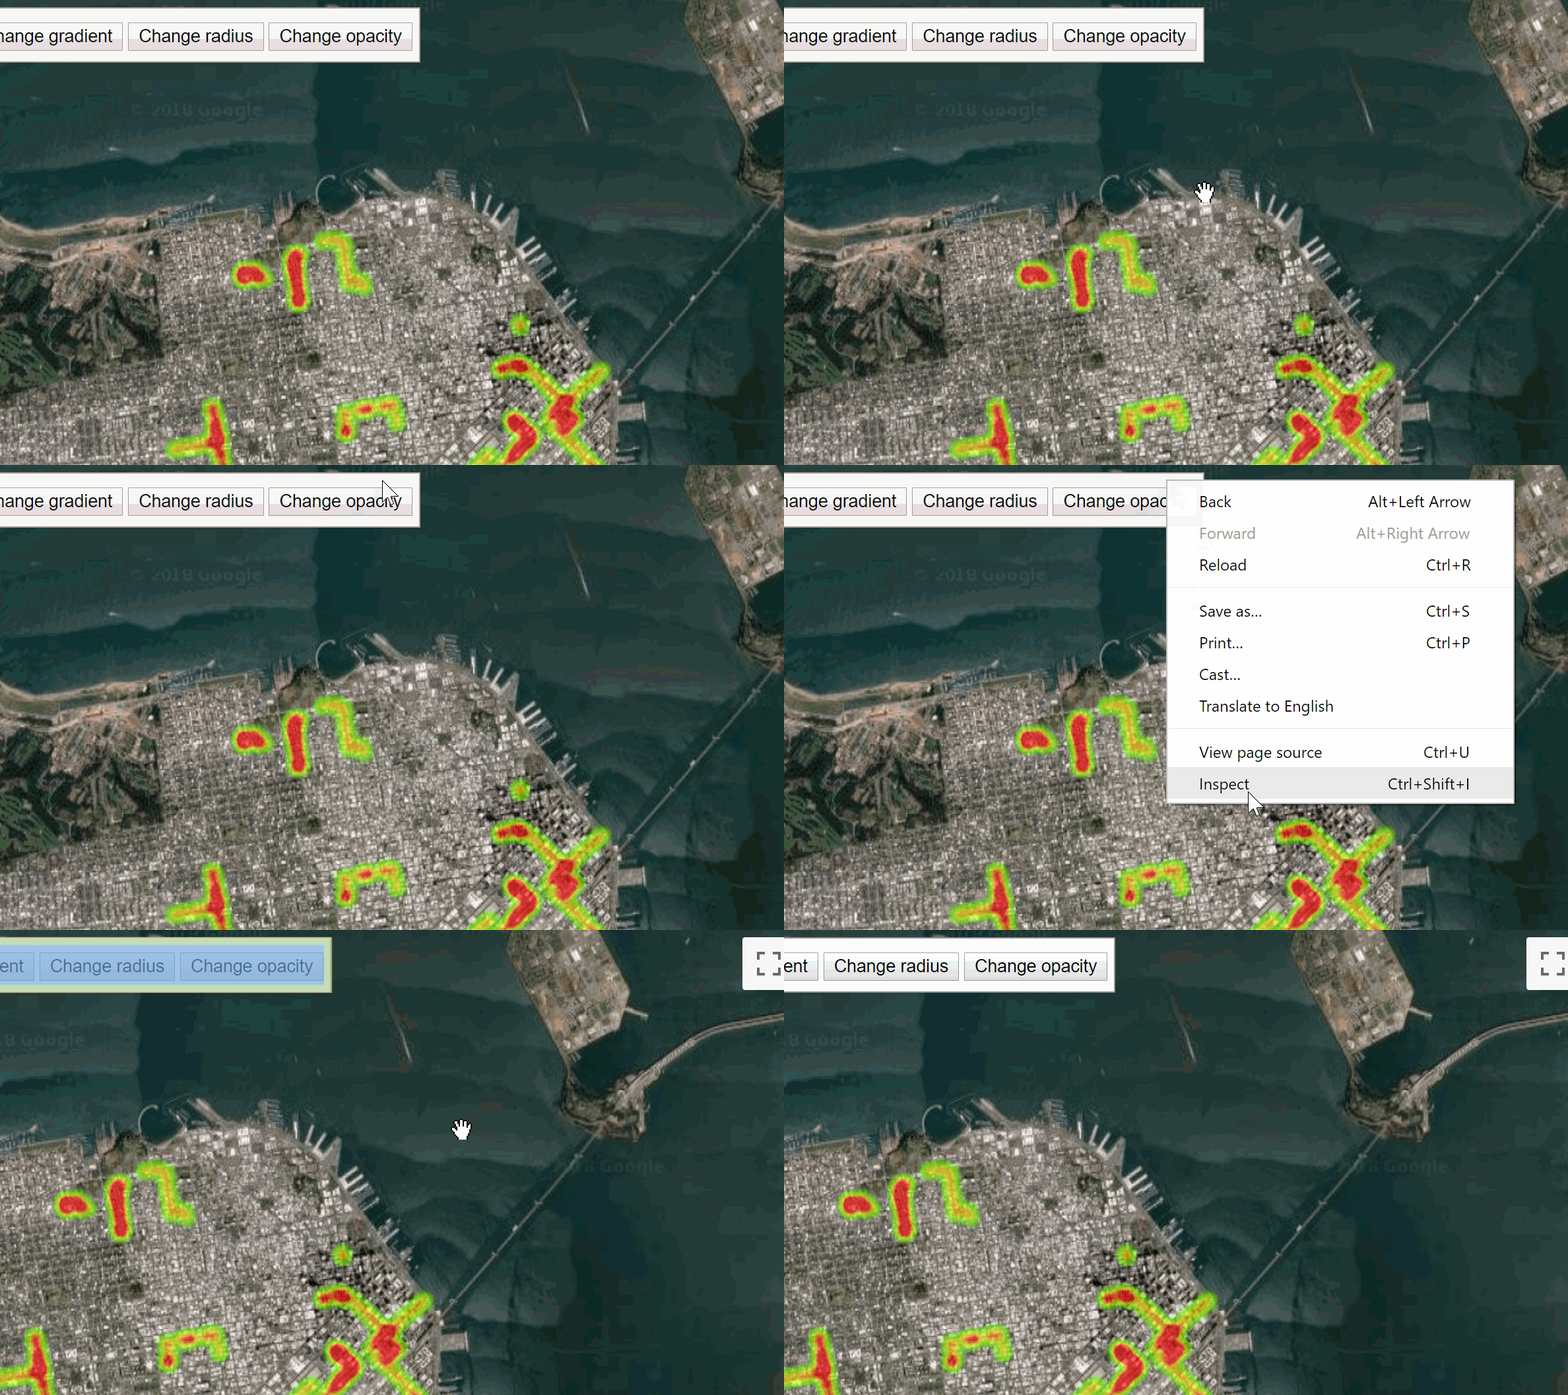
Step 3. Edit the Page Source Code
This is where the magic happens. What you are going to do is modify the source code of the page, and google chrome is going to update the page in real time.
Start by expanding the pane so you can read it properly, Something like this. Don’t worry, when we are going to close it and have a full screen map once again.
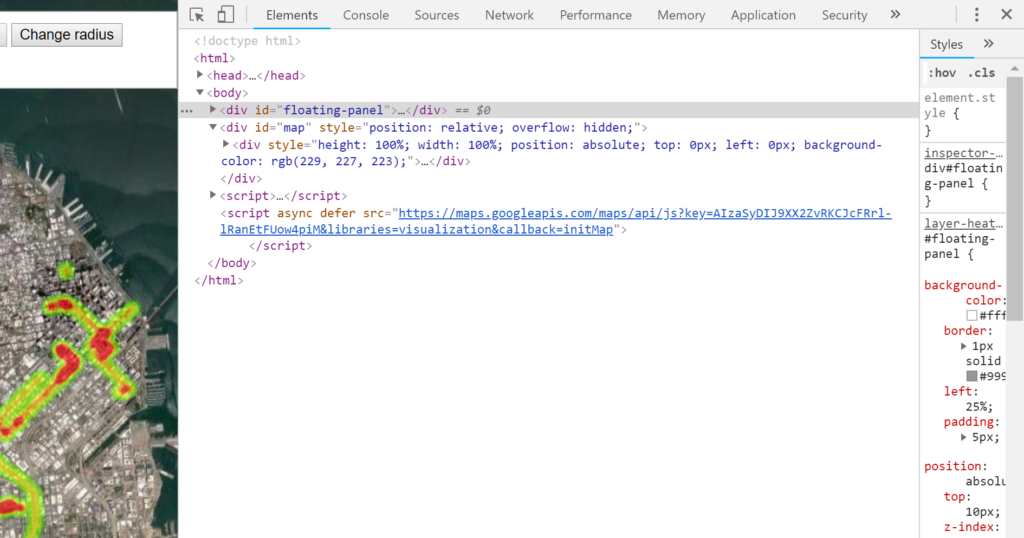
Next you want to expand the DIV’s, you will expand 5 div’s that start with the following:
- <div id=map
- <div style=height:
- <div class = “gm-style”
- <div tableindex=”0″
- <div style=”z-index:
- <div tableindex=”0″
- <div class = “gm-style”
- <div style=height:
Now under the “z-index” div you will find at least 4 div’s that look the same. If you have more than one heat-map or markers there may be more. You want to highlight the last div like in this screenshot:
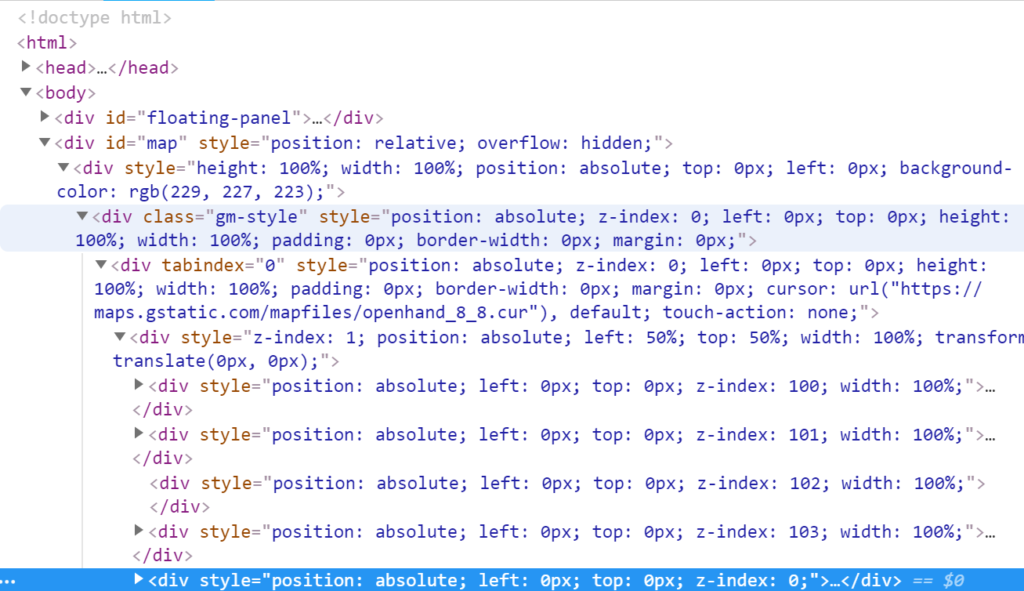
And then hit “Delete” on your keyboard. The map should disappear leaving the heat-map and horrible egg-shell off white background.
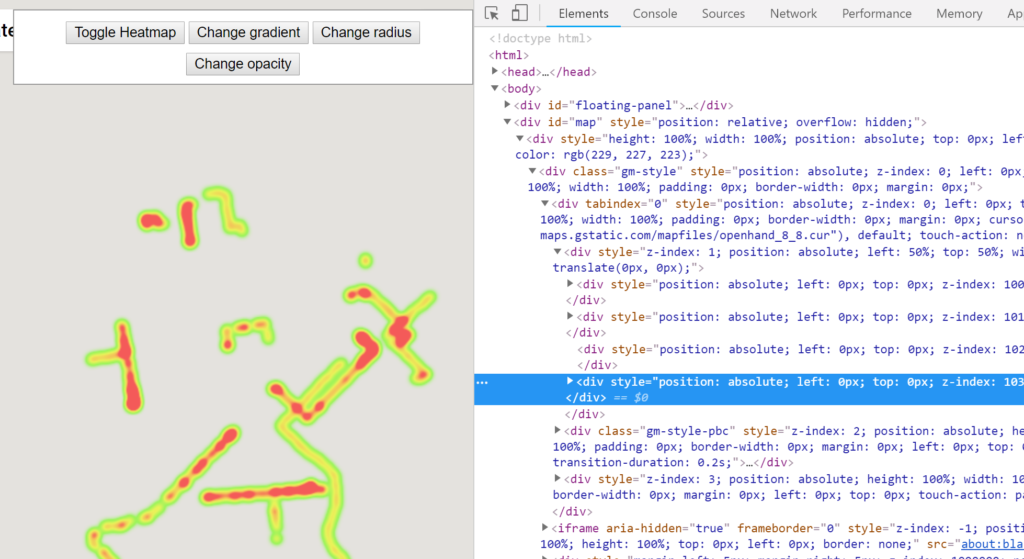
Step 4: Get rid of the background color
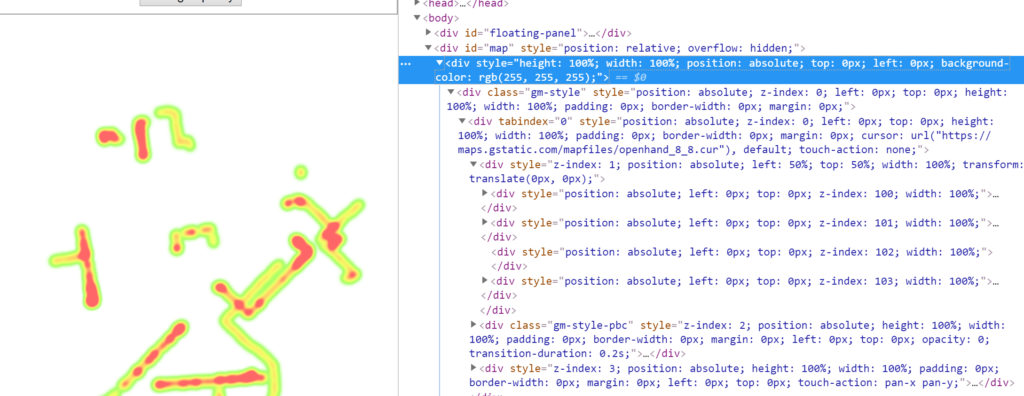
Now we need to get rid of that off white background color. This is easy to do. With the pane still open look towards the second Div you expanded. The one that started with “<DIV style=”height…” At the end of that div there is a part that says “color: rgb” we are going to change the three values after that to 255. You can click on the text and edit away.
So this line:
<div style="height: 100%; width: 100%; position: absolute; top: 0px; left: 0px; background-color: rgb(229,227,223);">
Becomes this:
<div style="height: 100%; width: 100%; position: absolute; top: 0px; left: 0px; background-color: rgb(255,255,255);">
Look the off white becomes white:
Step 5: Close the pane
Close the pane by clicking on the ‘X’ in the upper right hand corner of the screen.
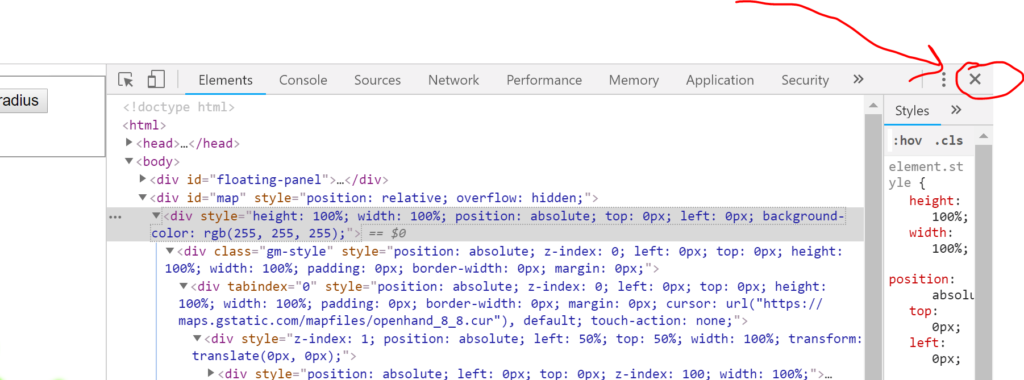
Then go ahead and take a screen shot and drop it into a photo editors as you see fit:
Conclusion:
You can remove the map in a google map just by removing some simple lines of code from the HTML after your computer downloads and renders the map from google.
There may be the possibility, of adding more CSS to hide or even replace the layer on page-load if you wanted to, yet that is not covered here. You could also do this on a map that has other information on it, such as points or polygons.
I hope this helps you in whatever project you are working on. If you have any comments or suggestions I would love to hear them.
